Resource 005 / Your free AVATAR guide
Your AVATAR guide.
Build your character. Keep your shots consistent. Turn your reference images into short clips.
Start the guide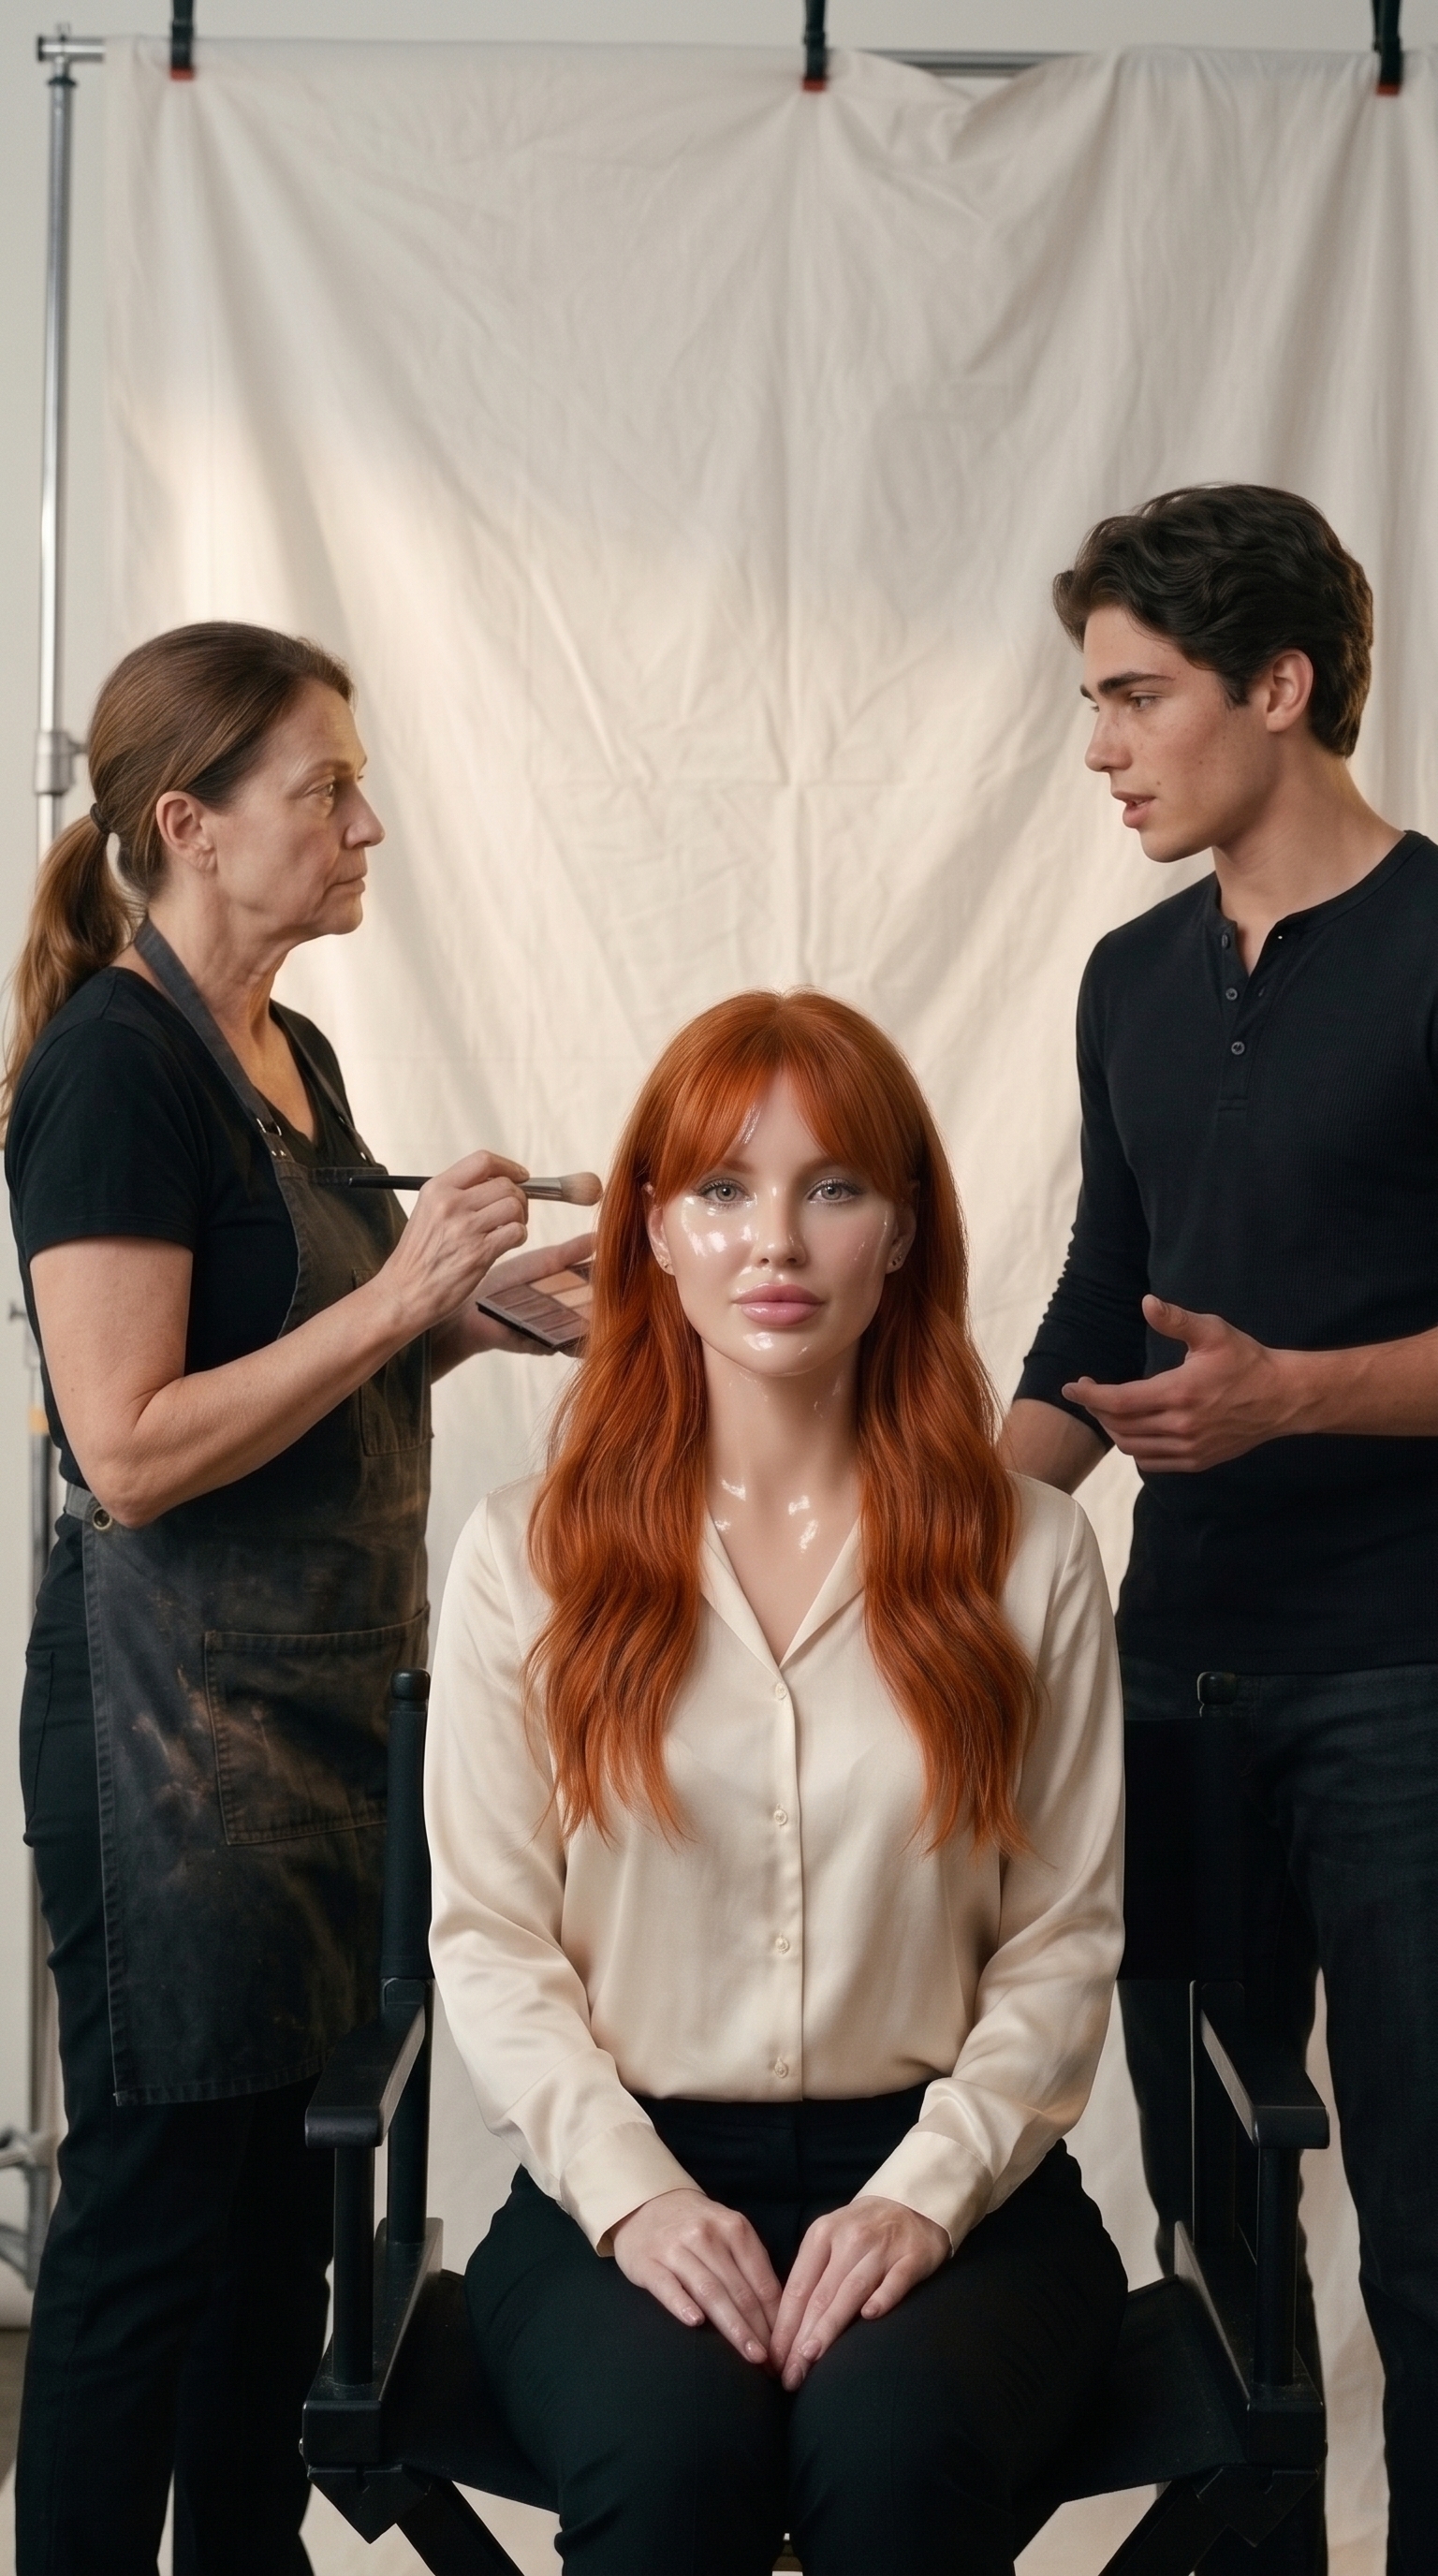
Start here
Why your fake avatar doesn’t sell.
You spot plastic skin straight away. Too shiny. Too smooth. Too perfect to trust.
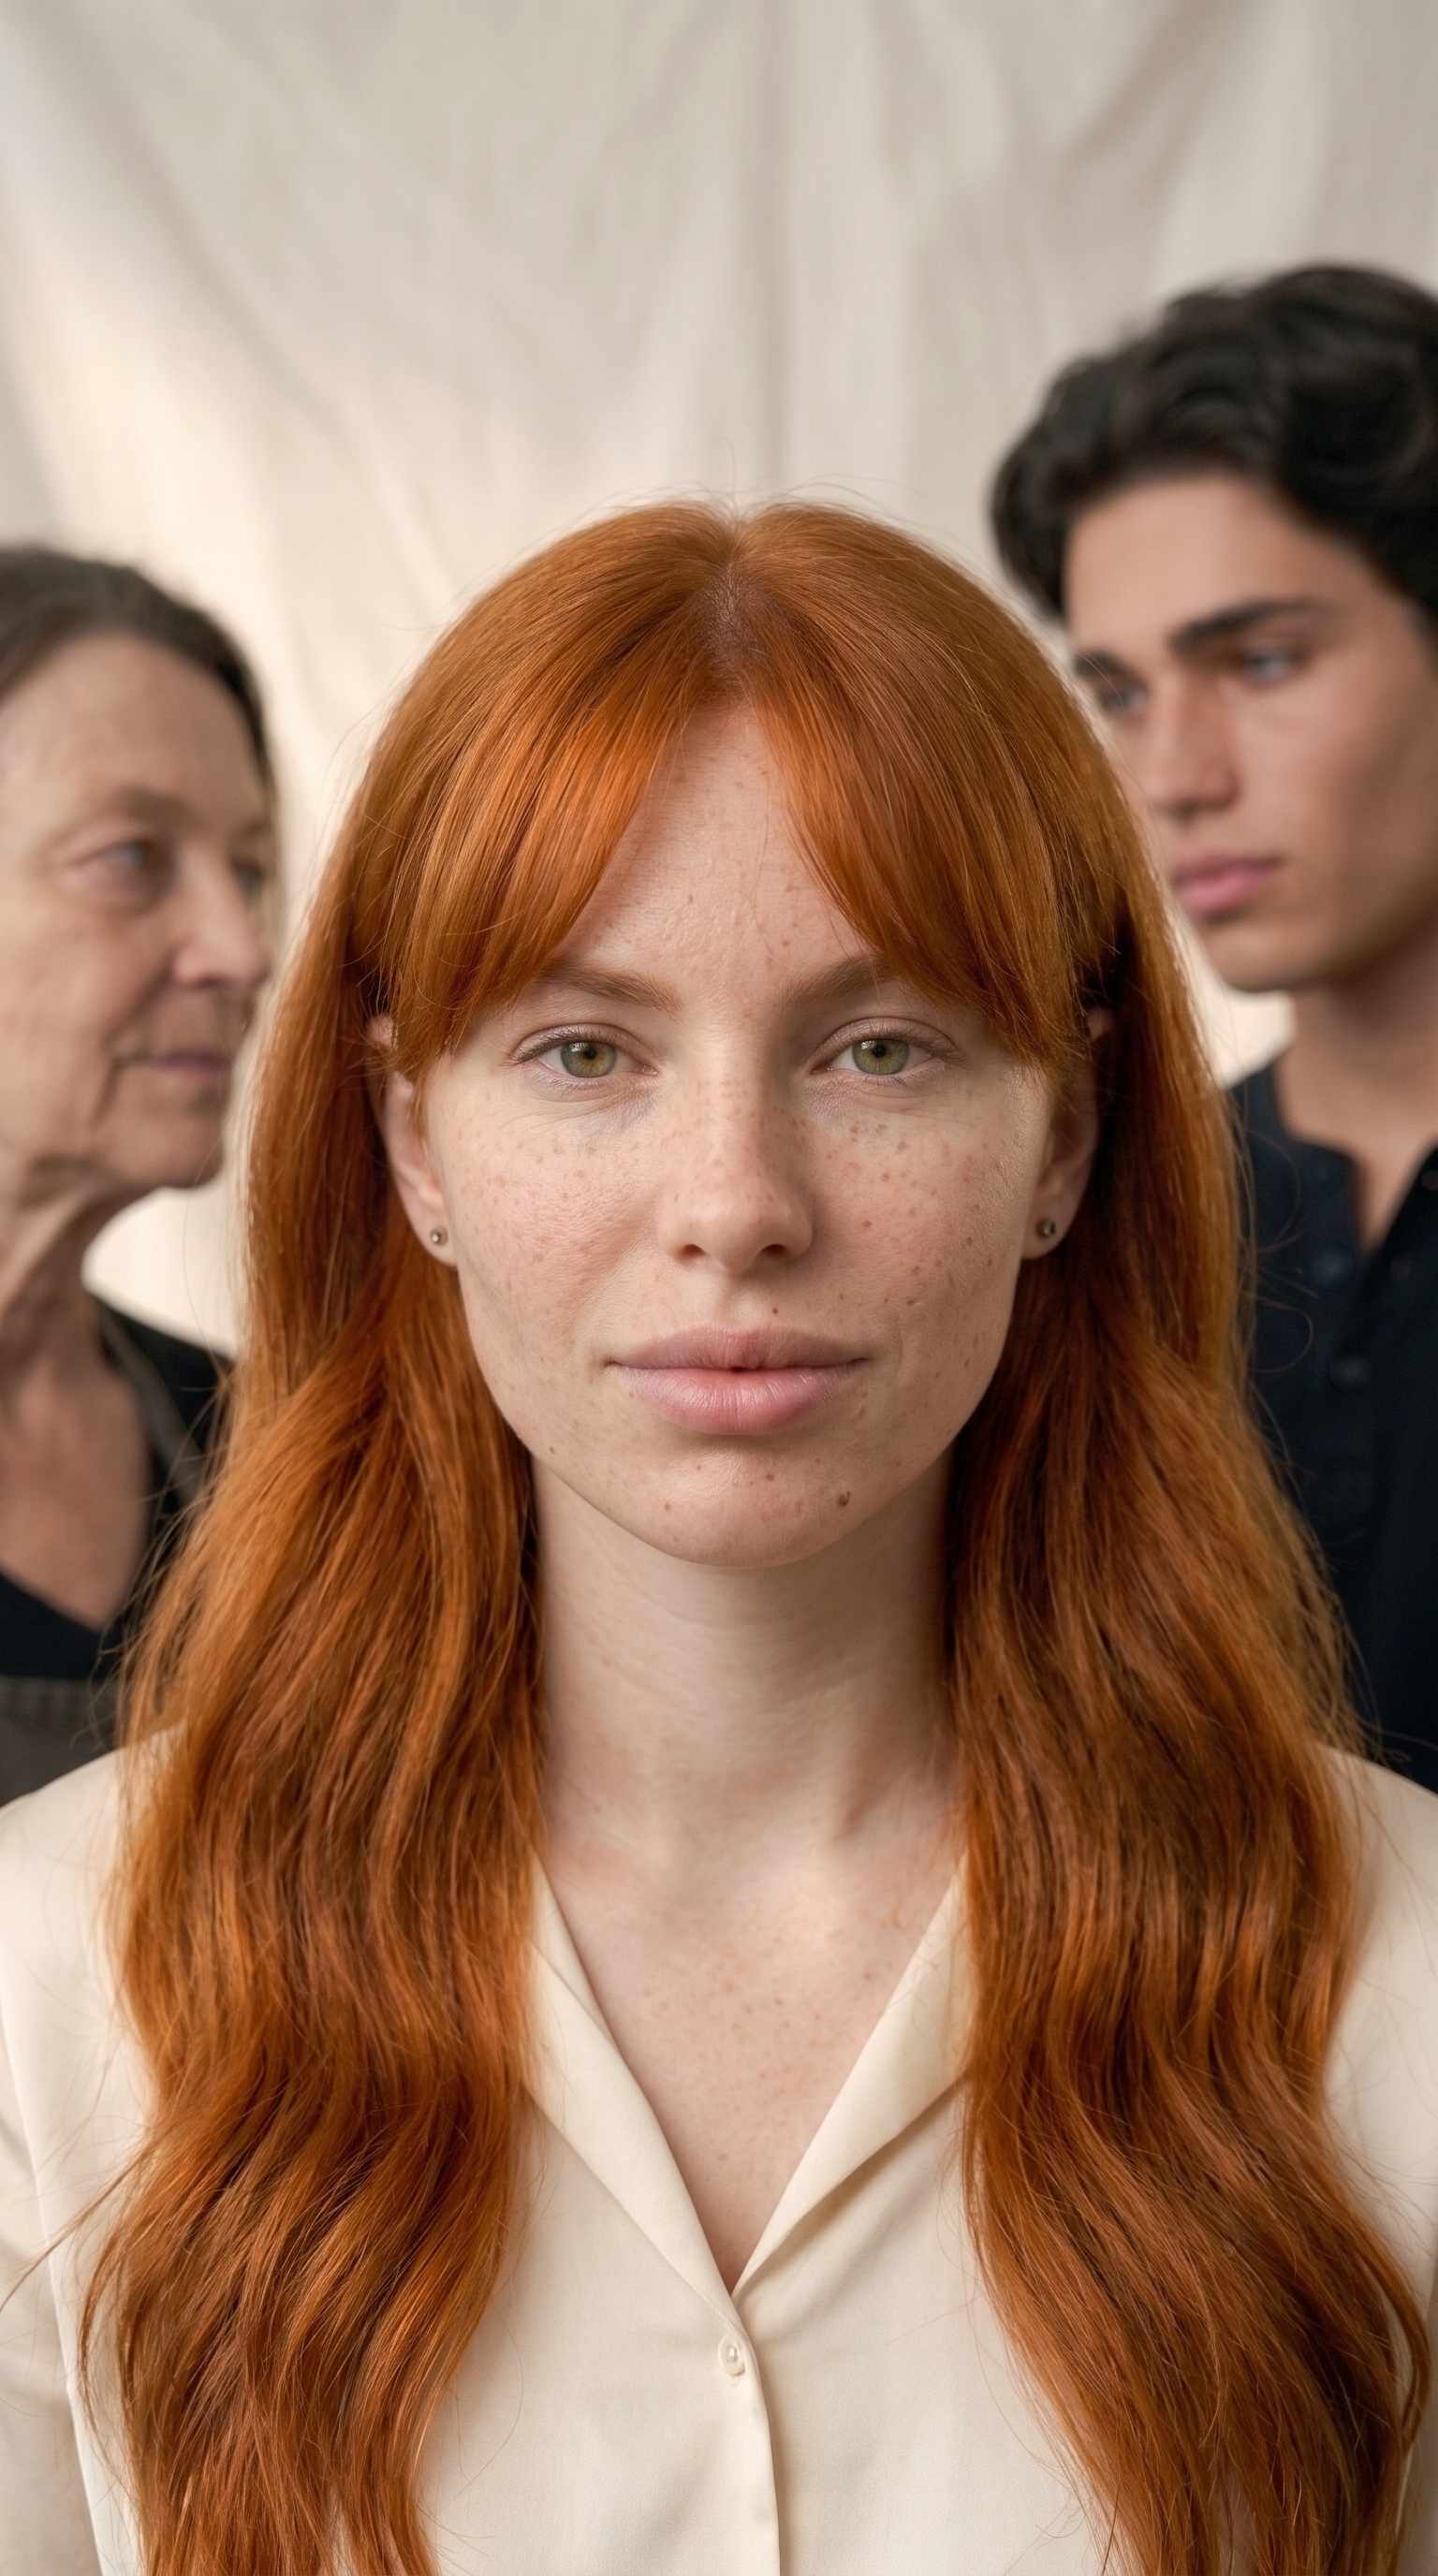
Start with the details you can see in a close-up.
Brands only pay for avatars that look real.
Look closer
Make your details look real.
Your fake version
- Shiny, plastic skin
- Glassy eyes
- Overfilled lips
- Perfect symmetry
Your real-looking version
- Matte skin with visible pores
- Freckles and a small mole
- Thin lips
- Small asymmetries
- A natural gaze
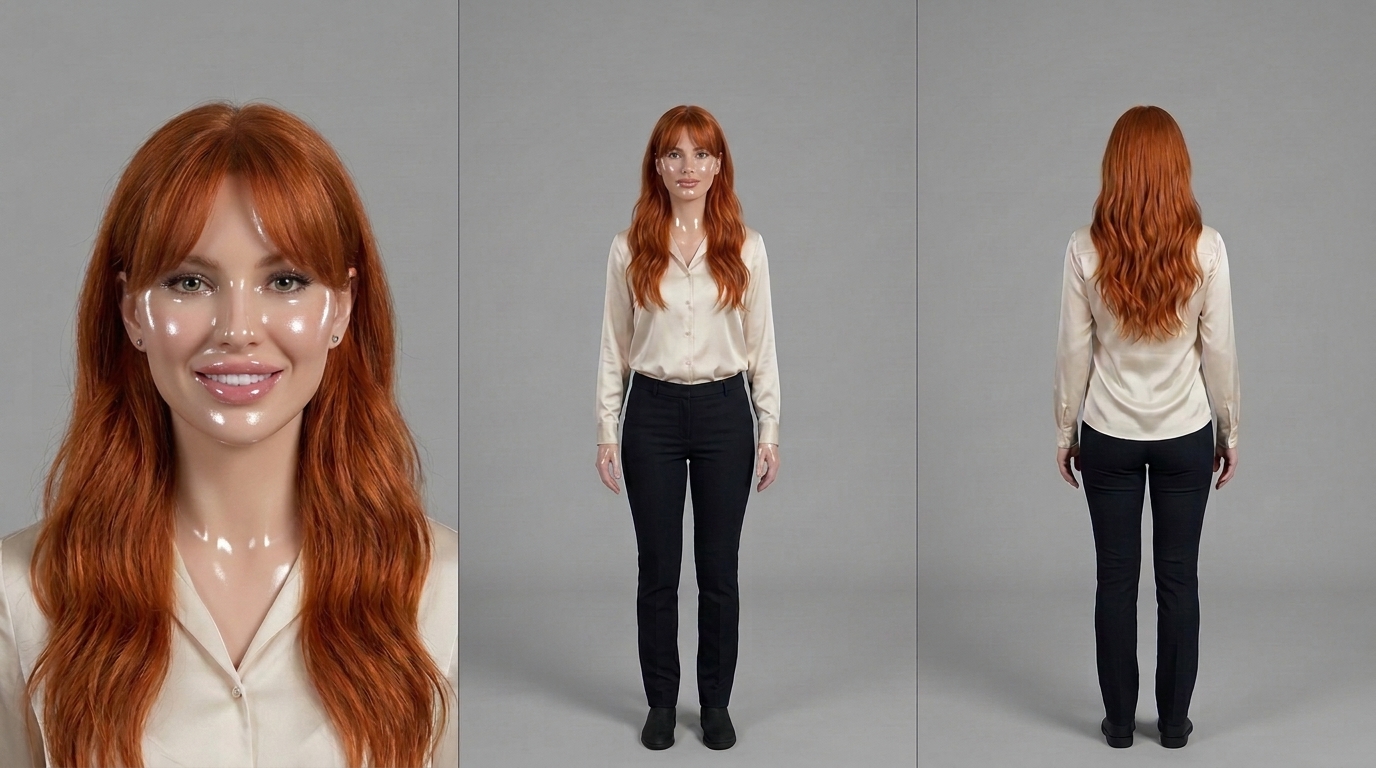
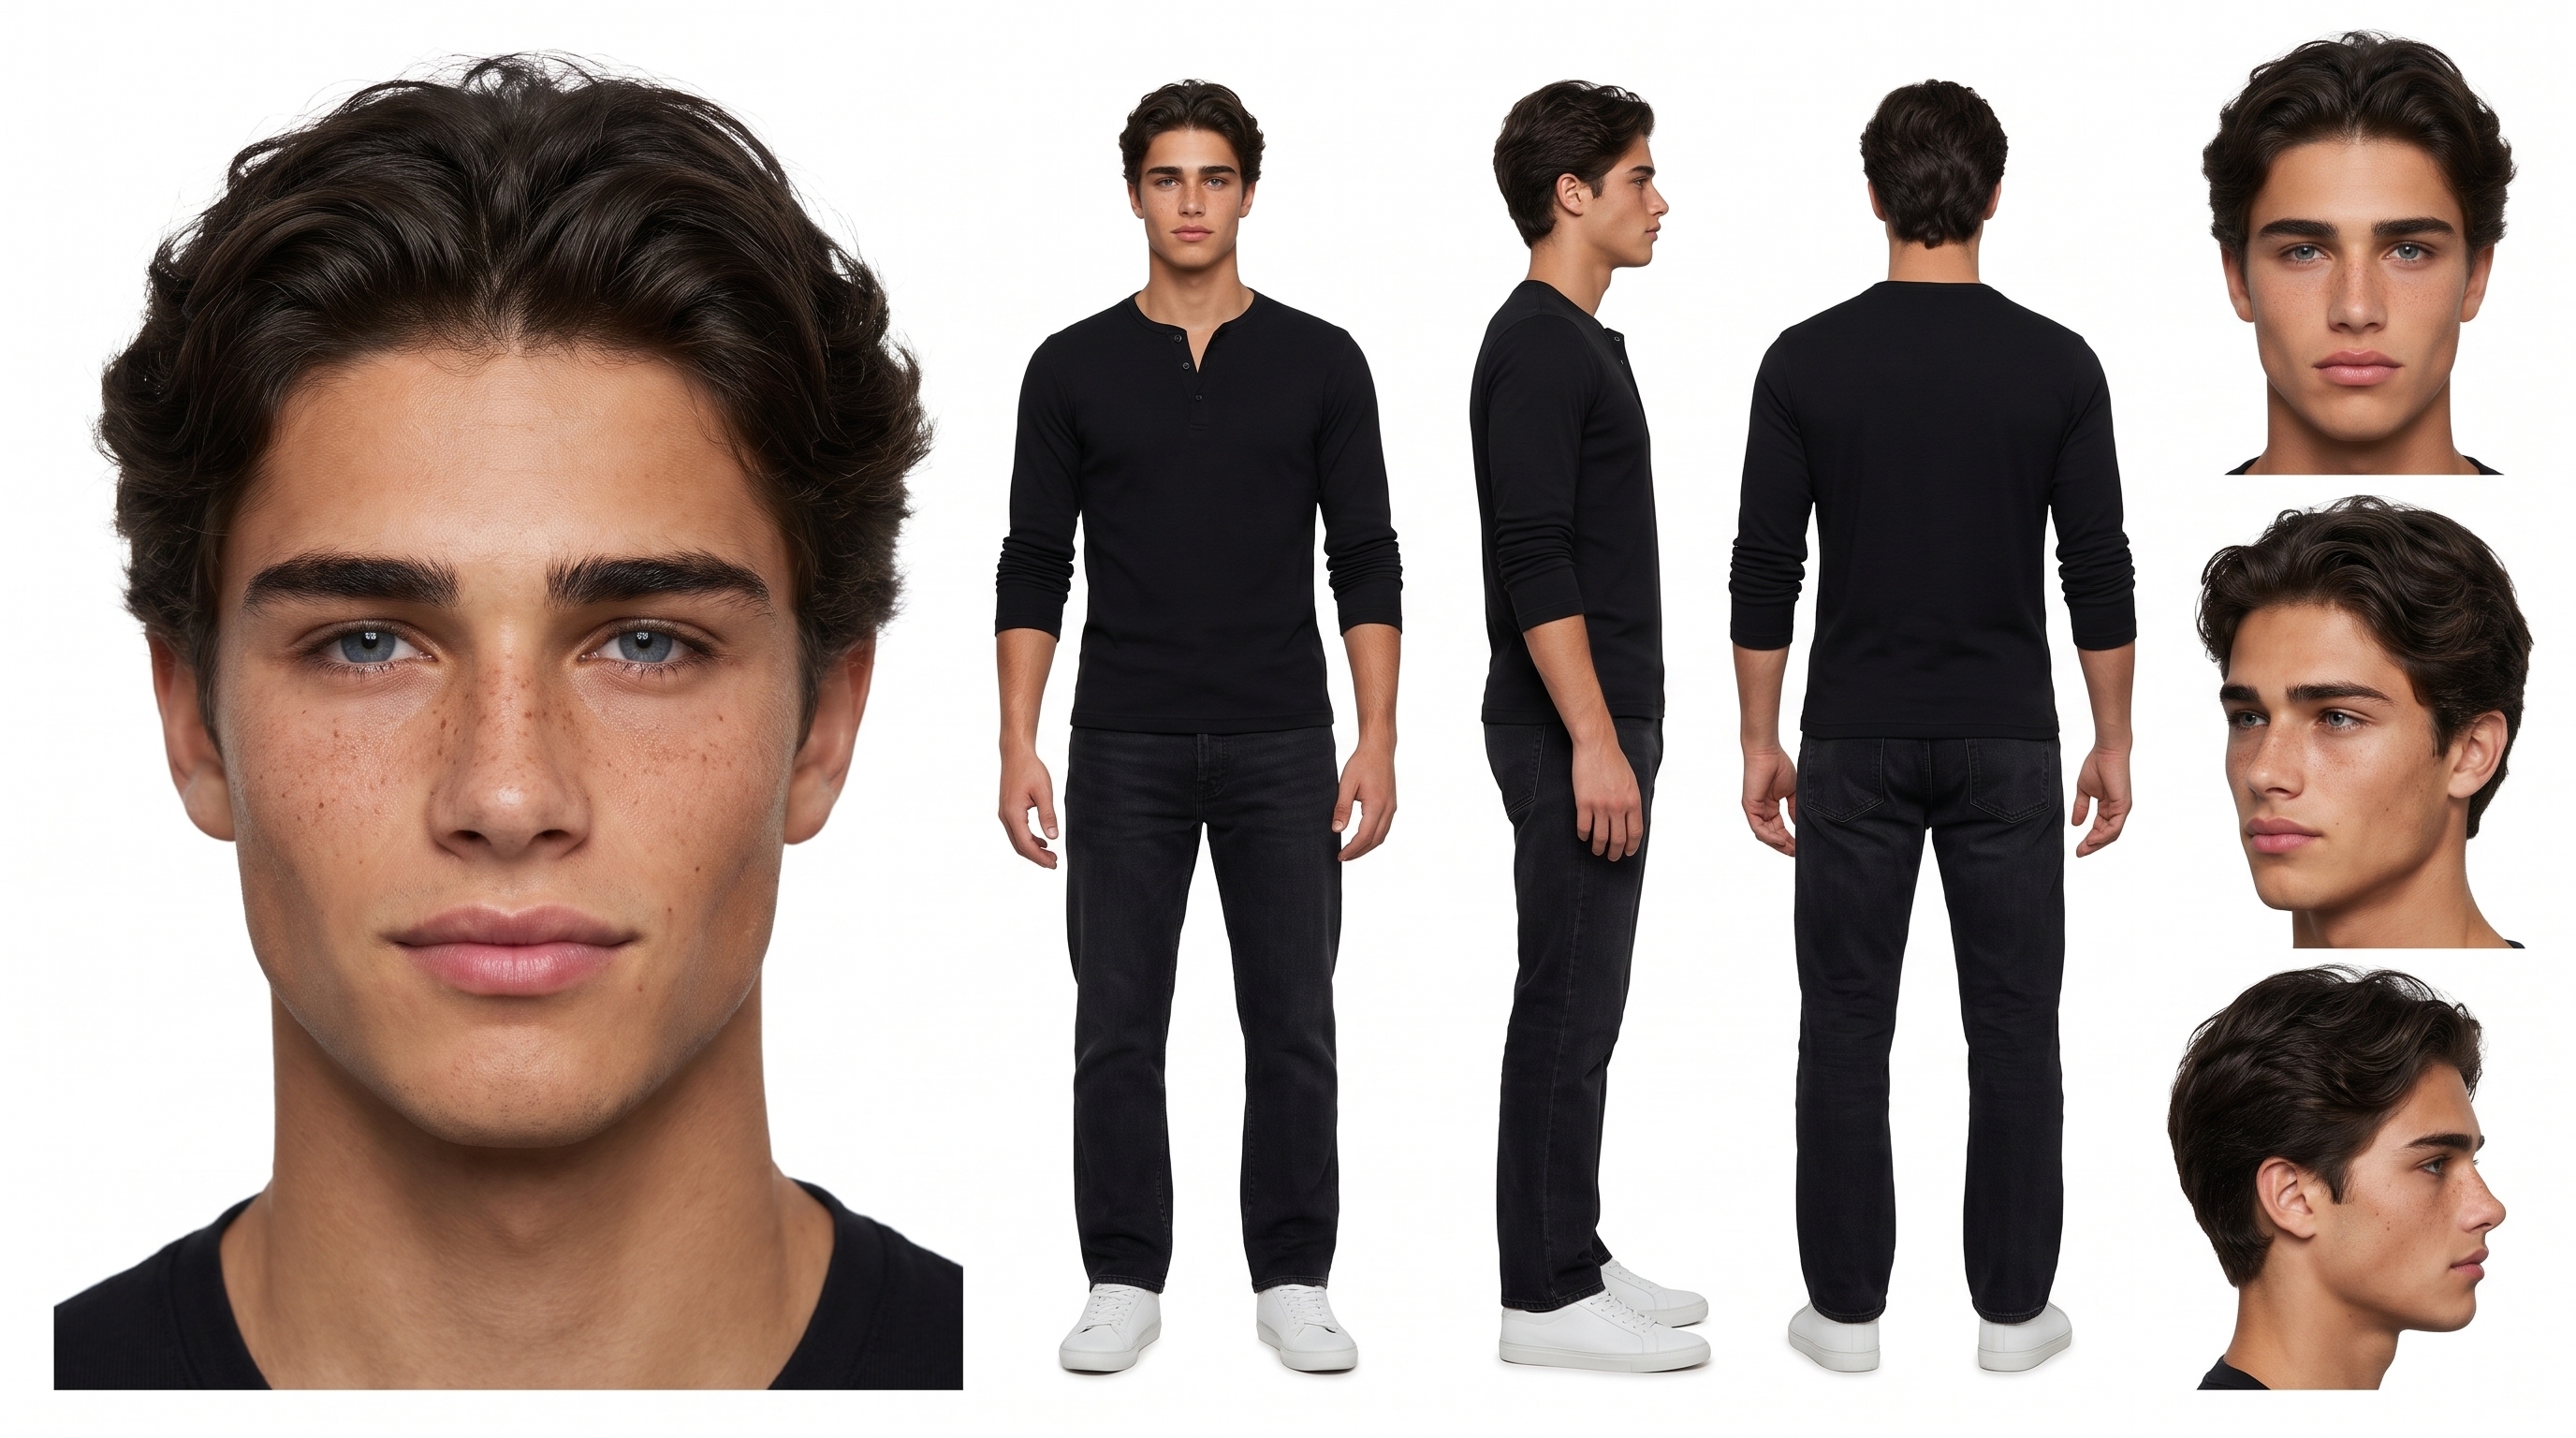
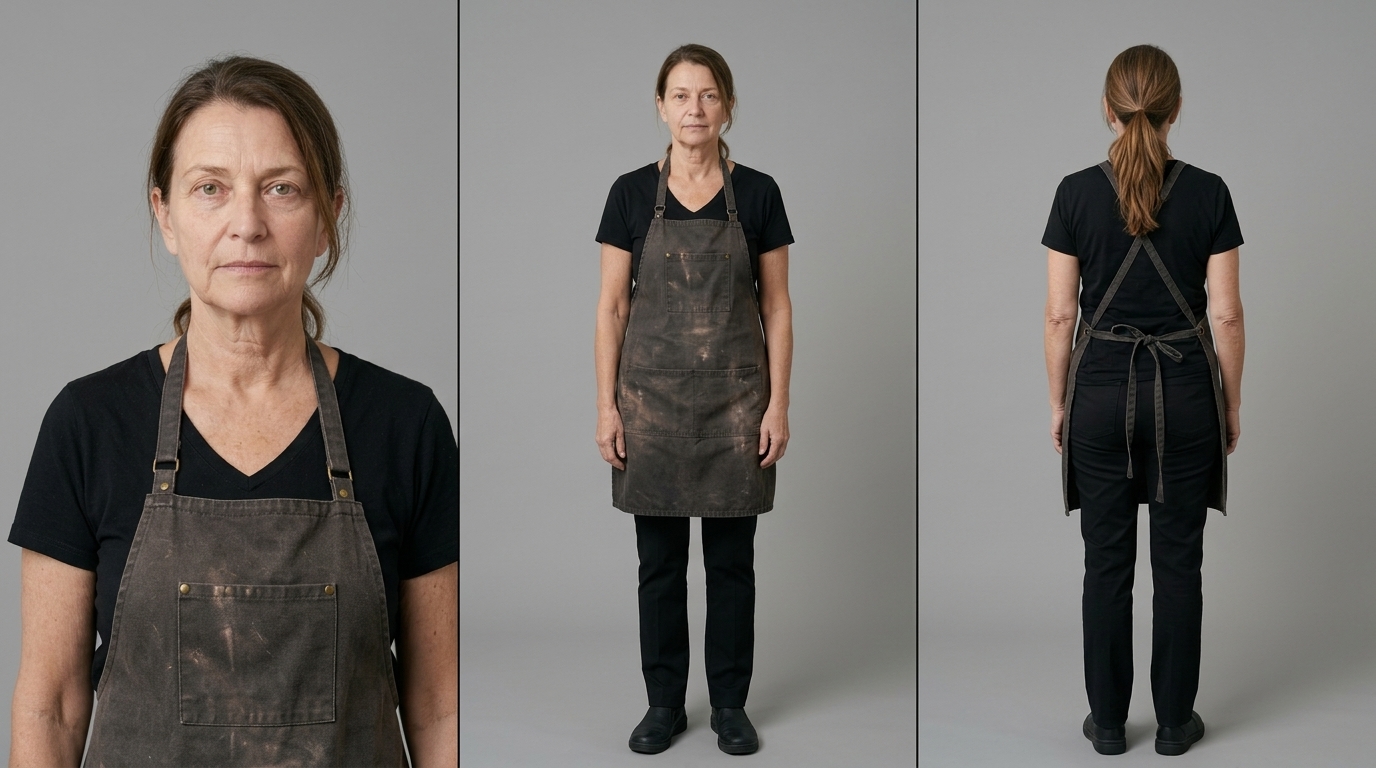
Lock your identity.
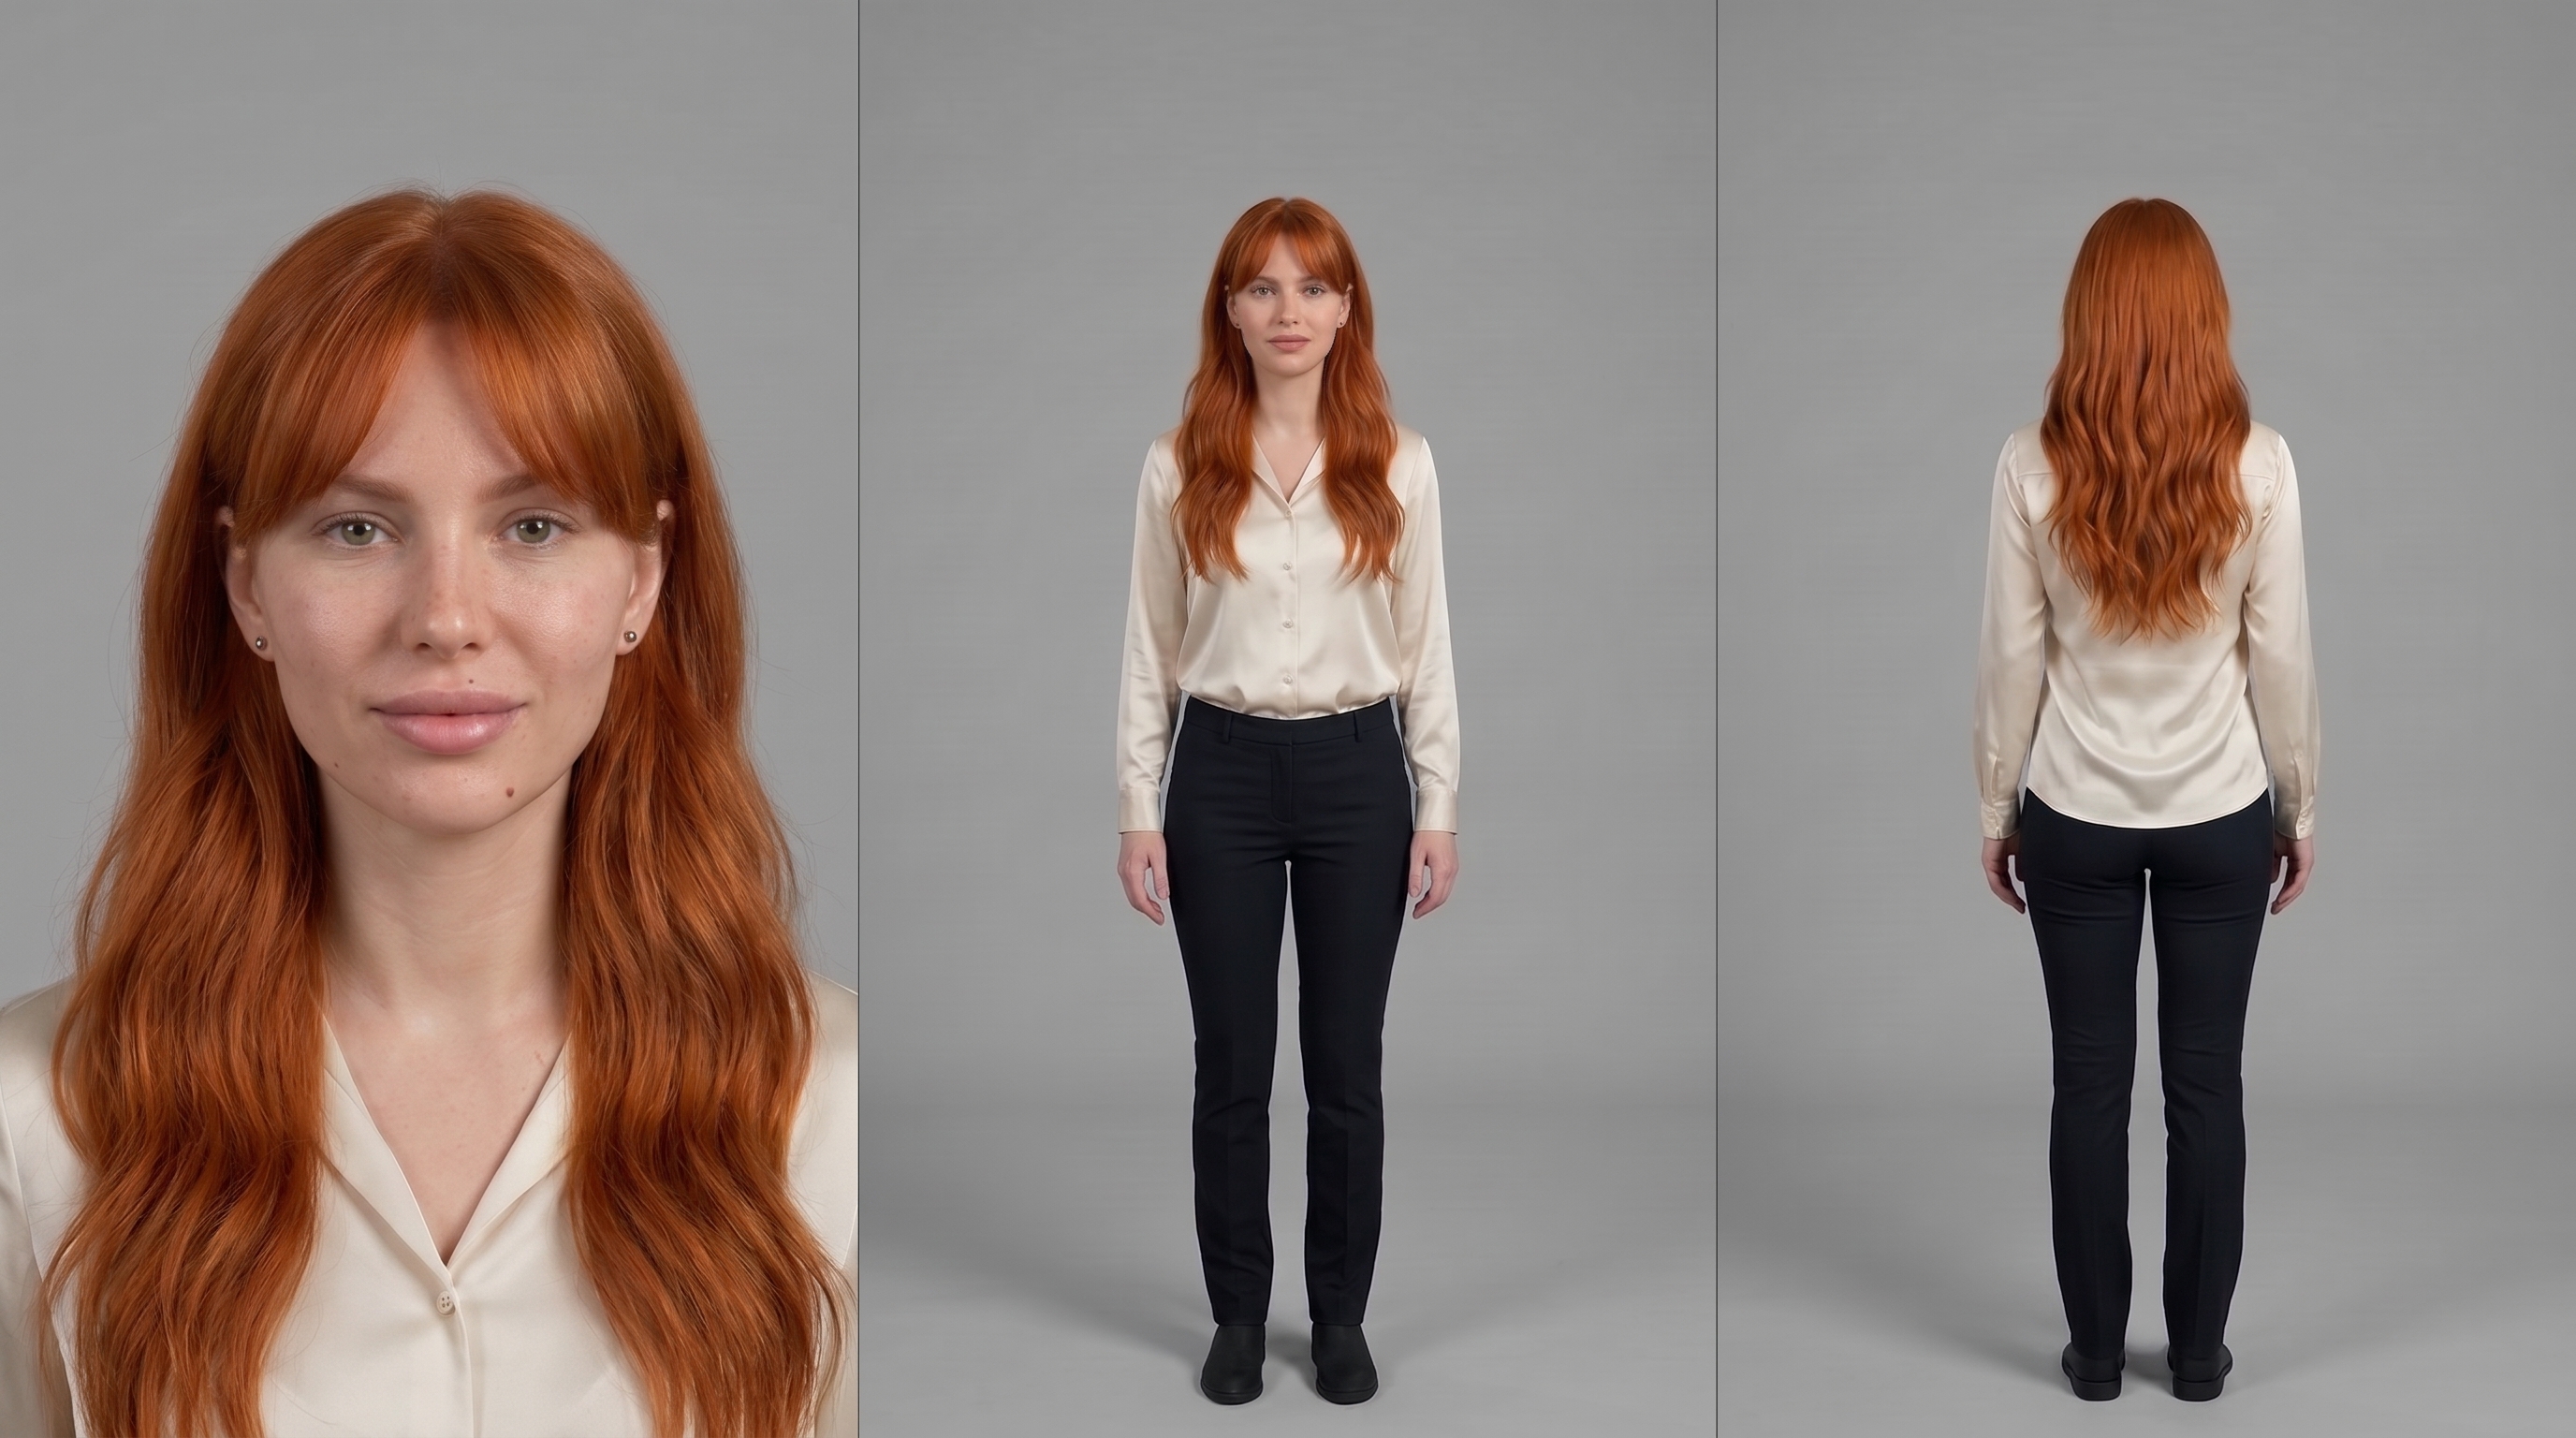
Create one character sheet for each character you use. Give your sheet three panels:
- A front-facing close-up of your character’s face.
- A front-facing full-body view.
- A full-body view from behind.
Use a flat grey background with no shadows so your background and shadows don’t shape later generations.
Save your master image.
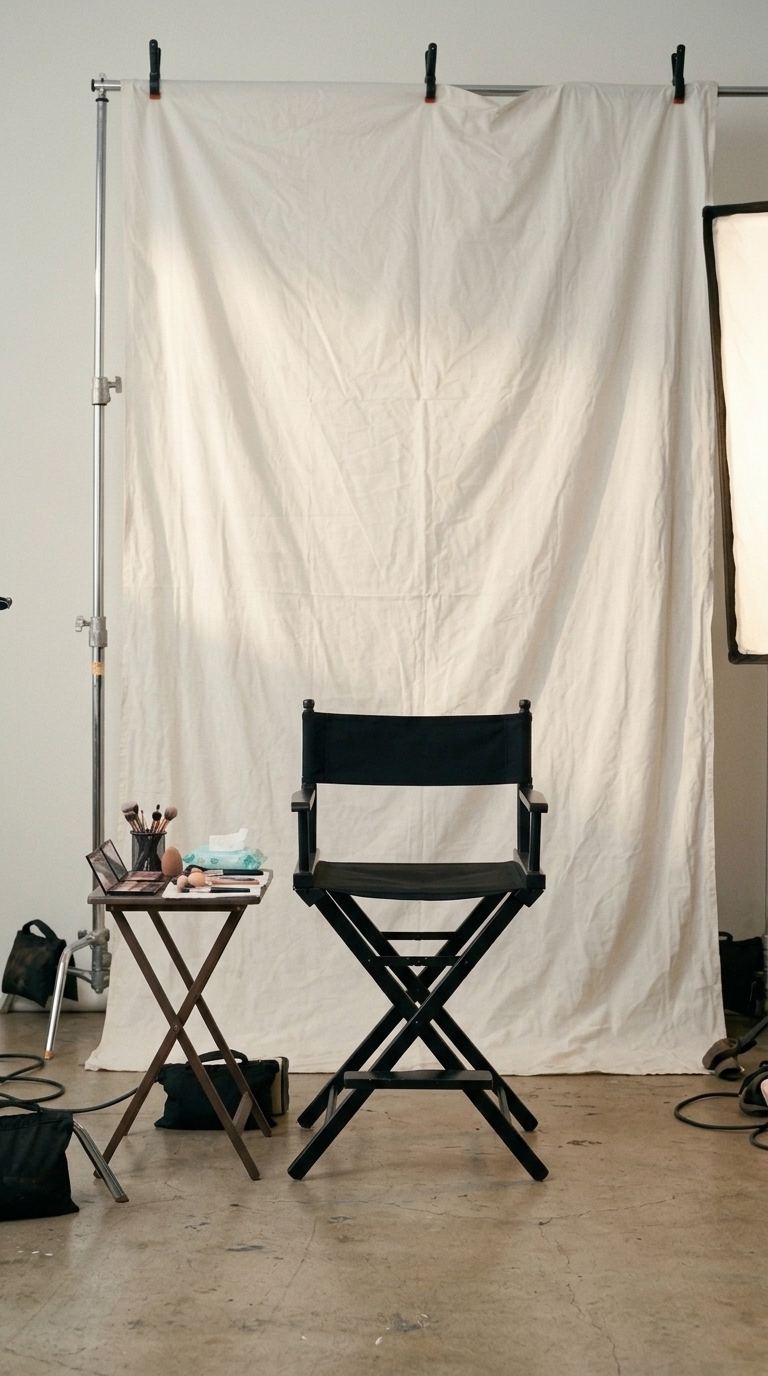
Build your set.
One set. The same light in every shot.
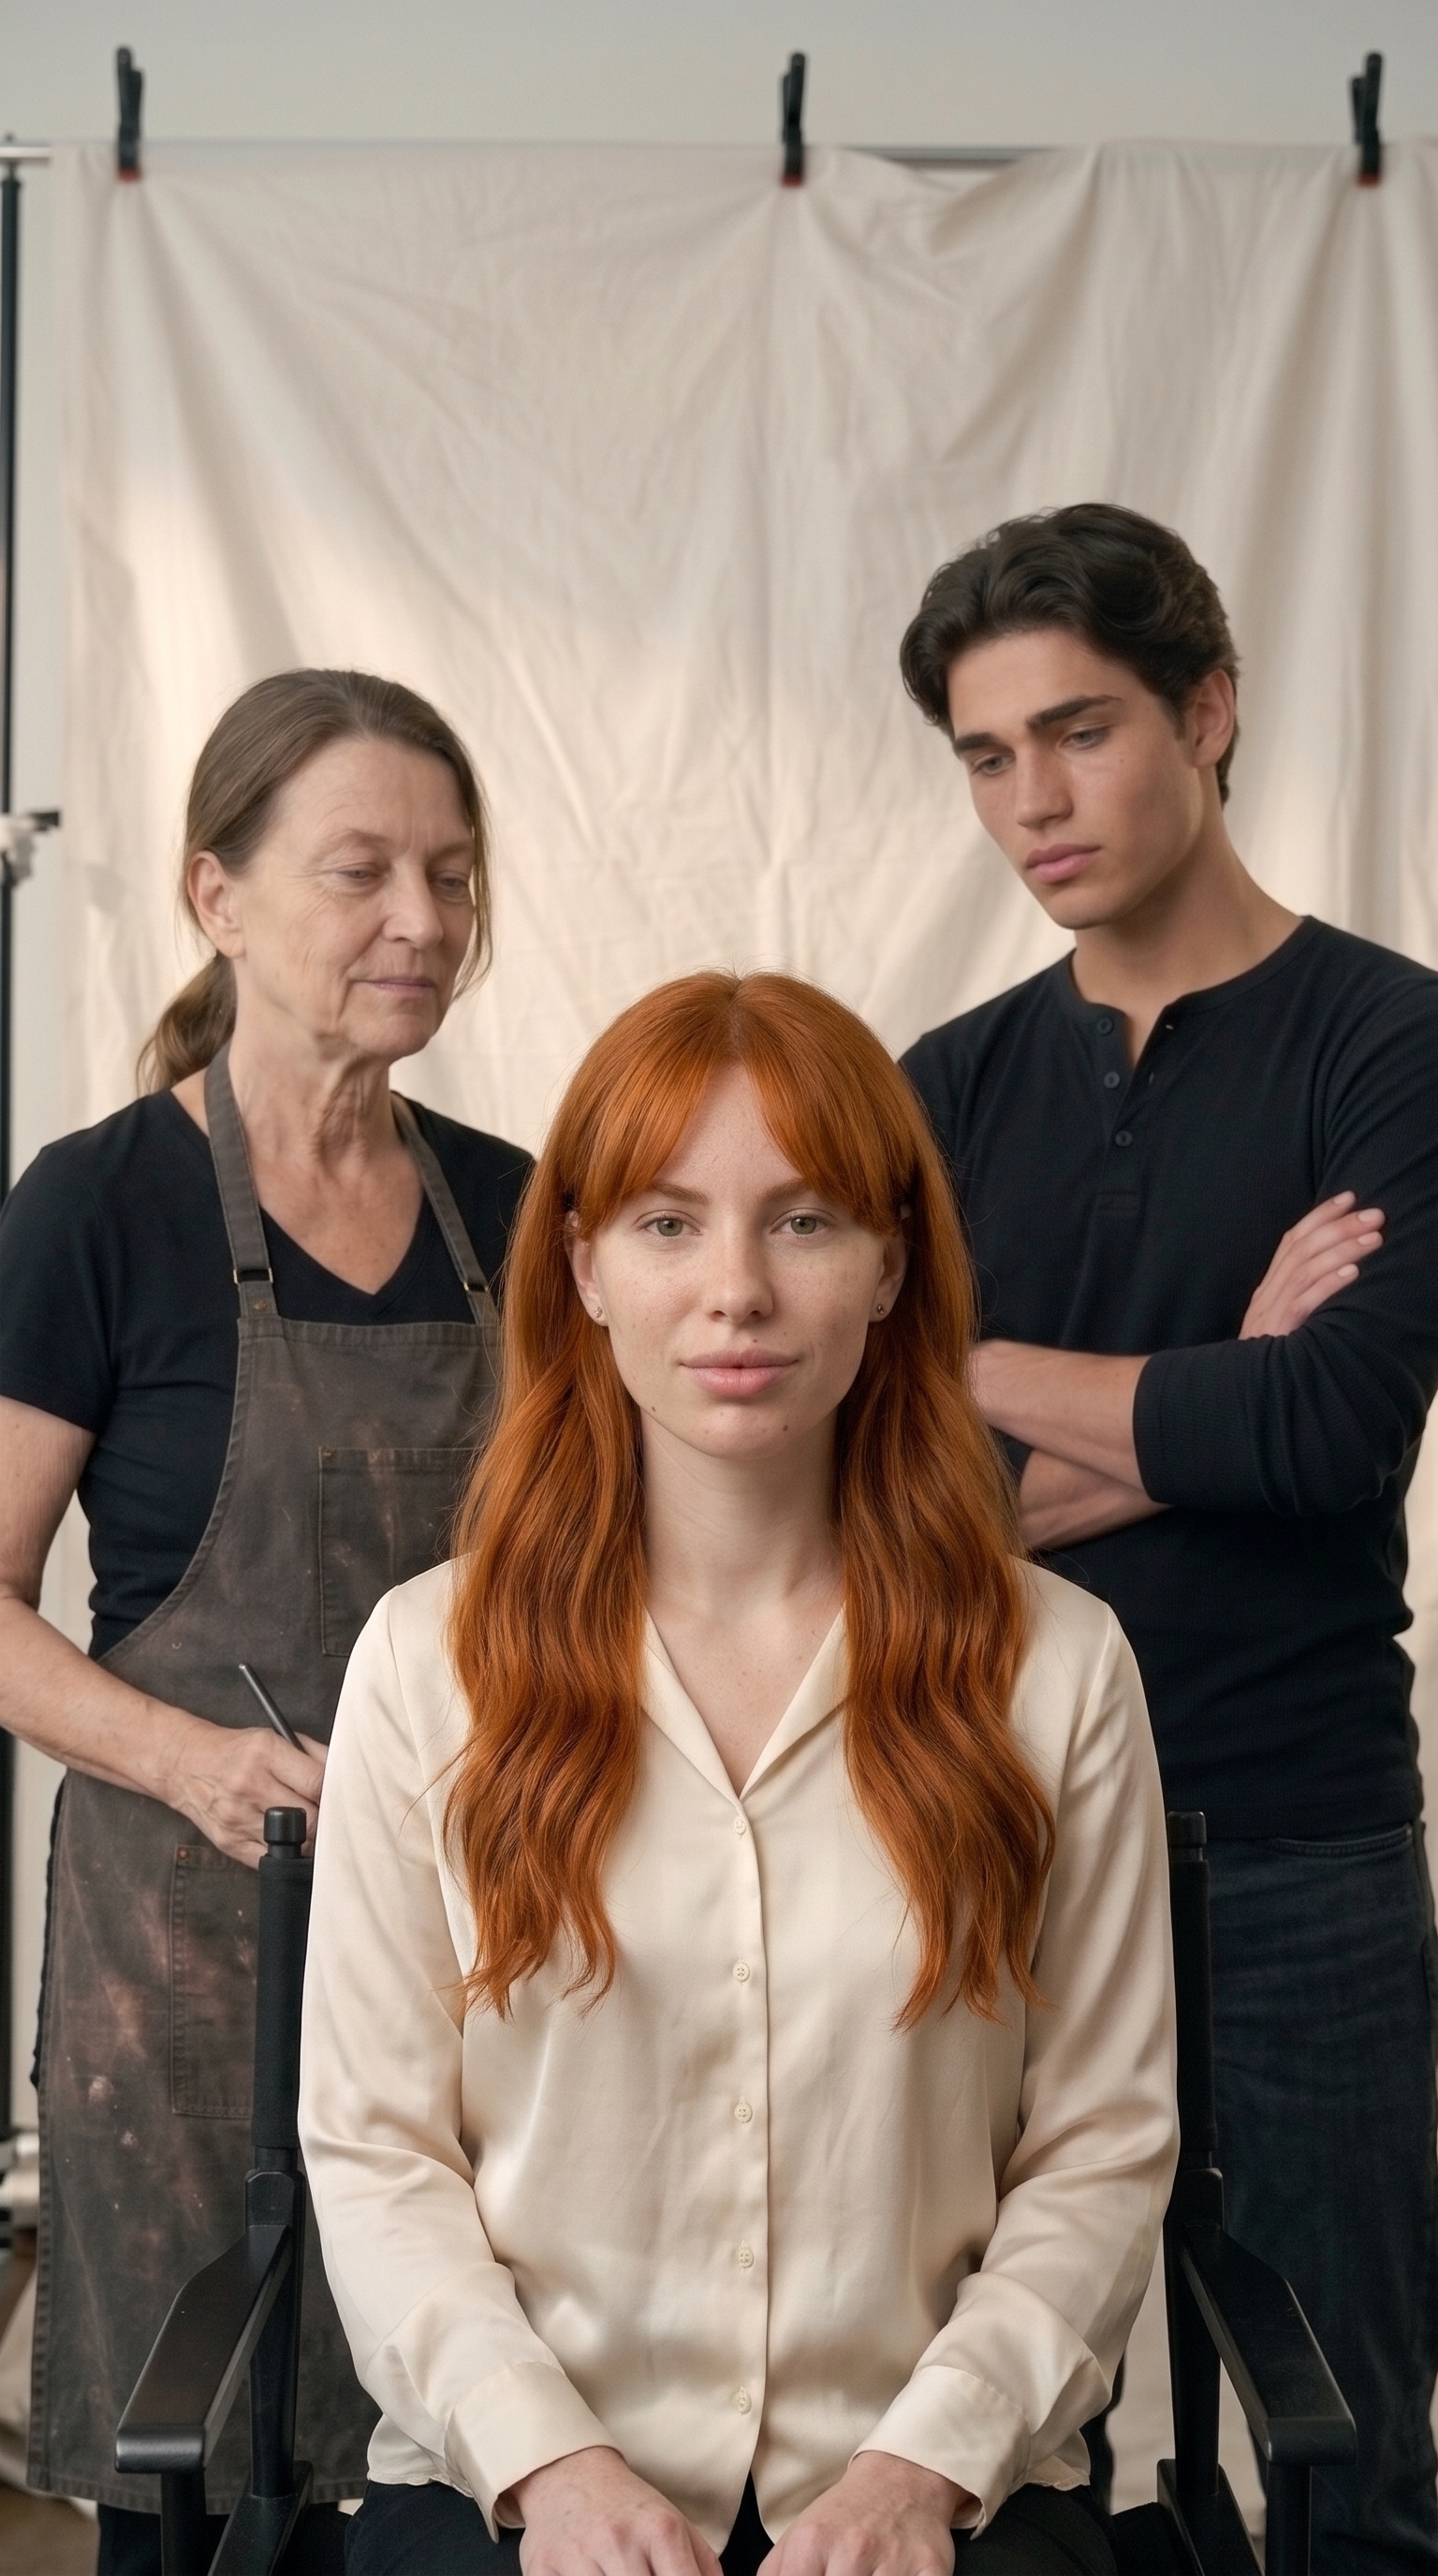
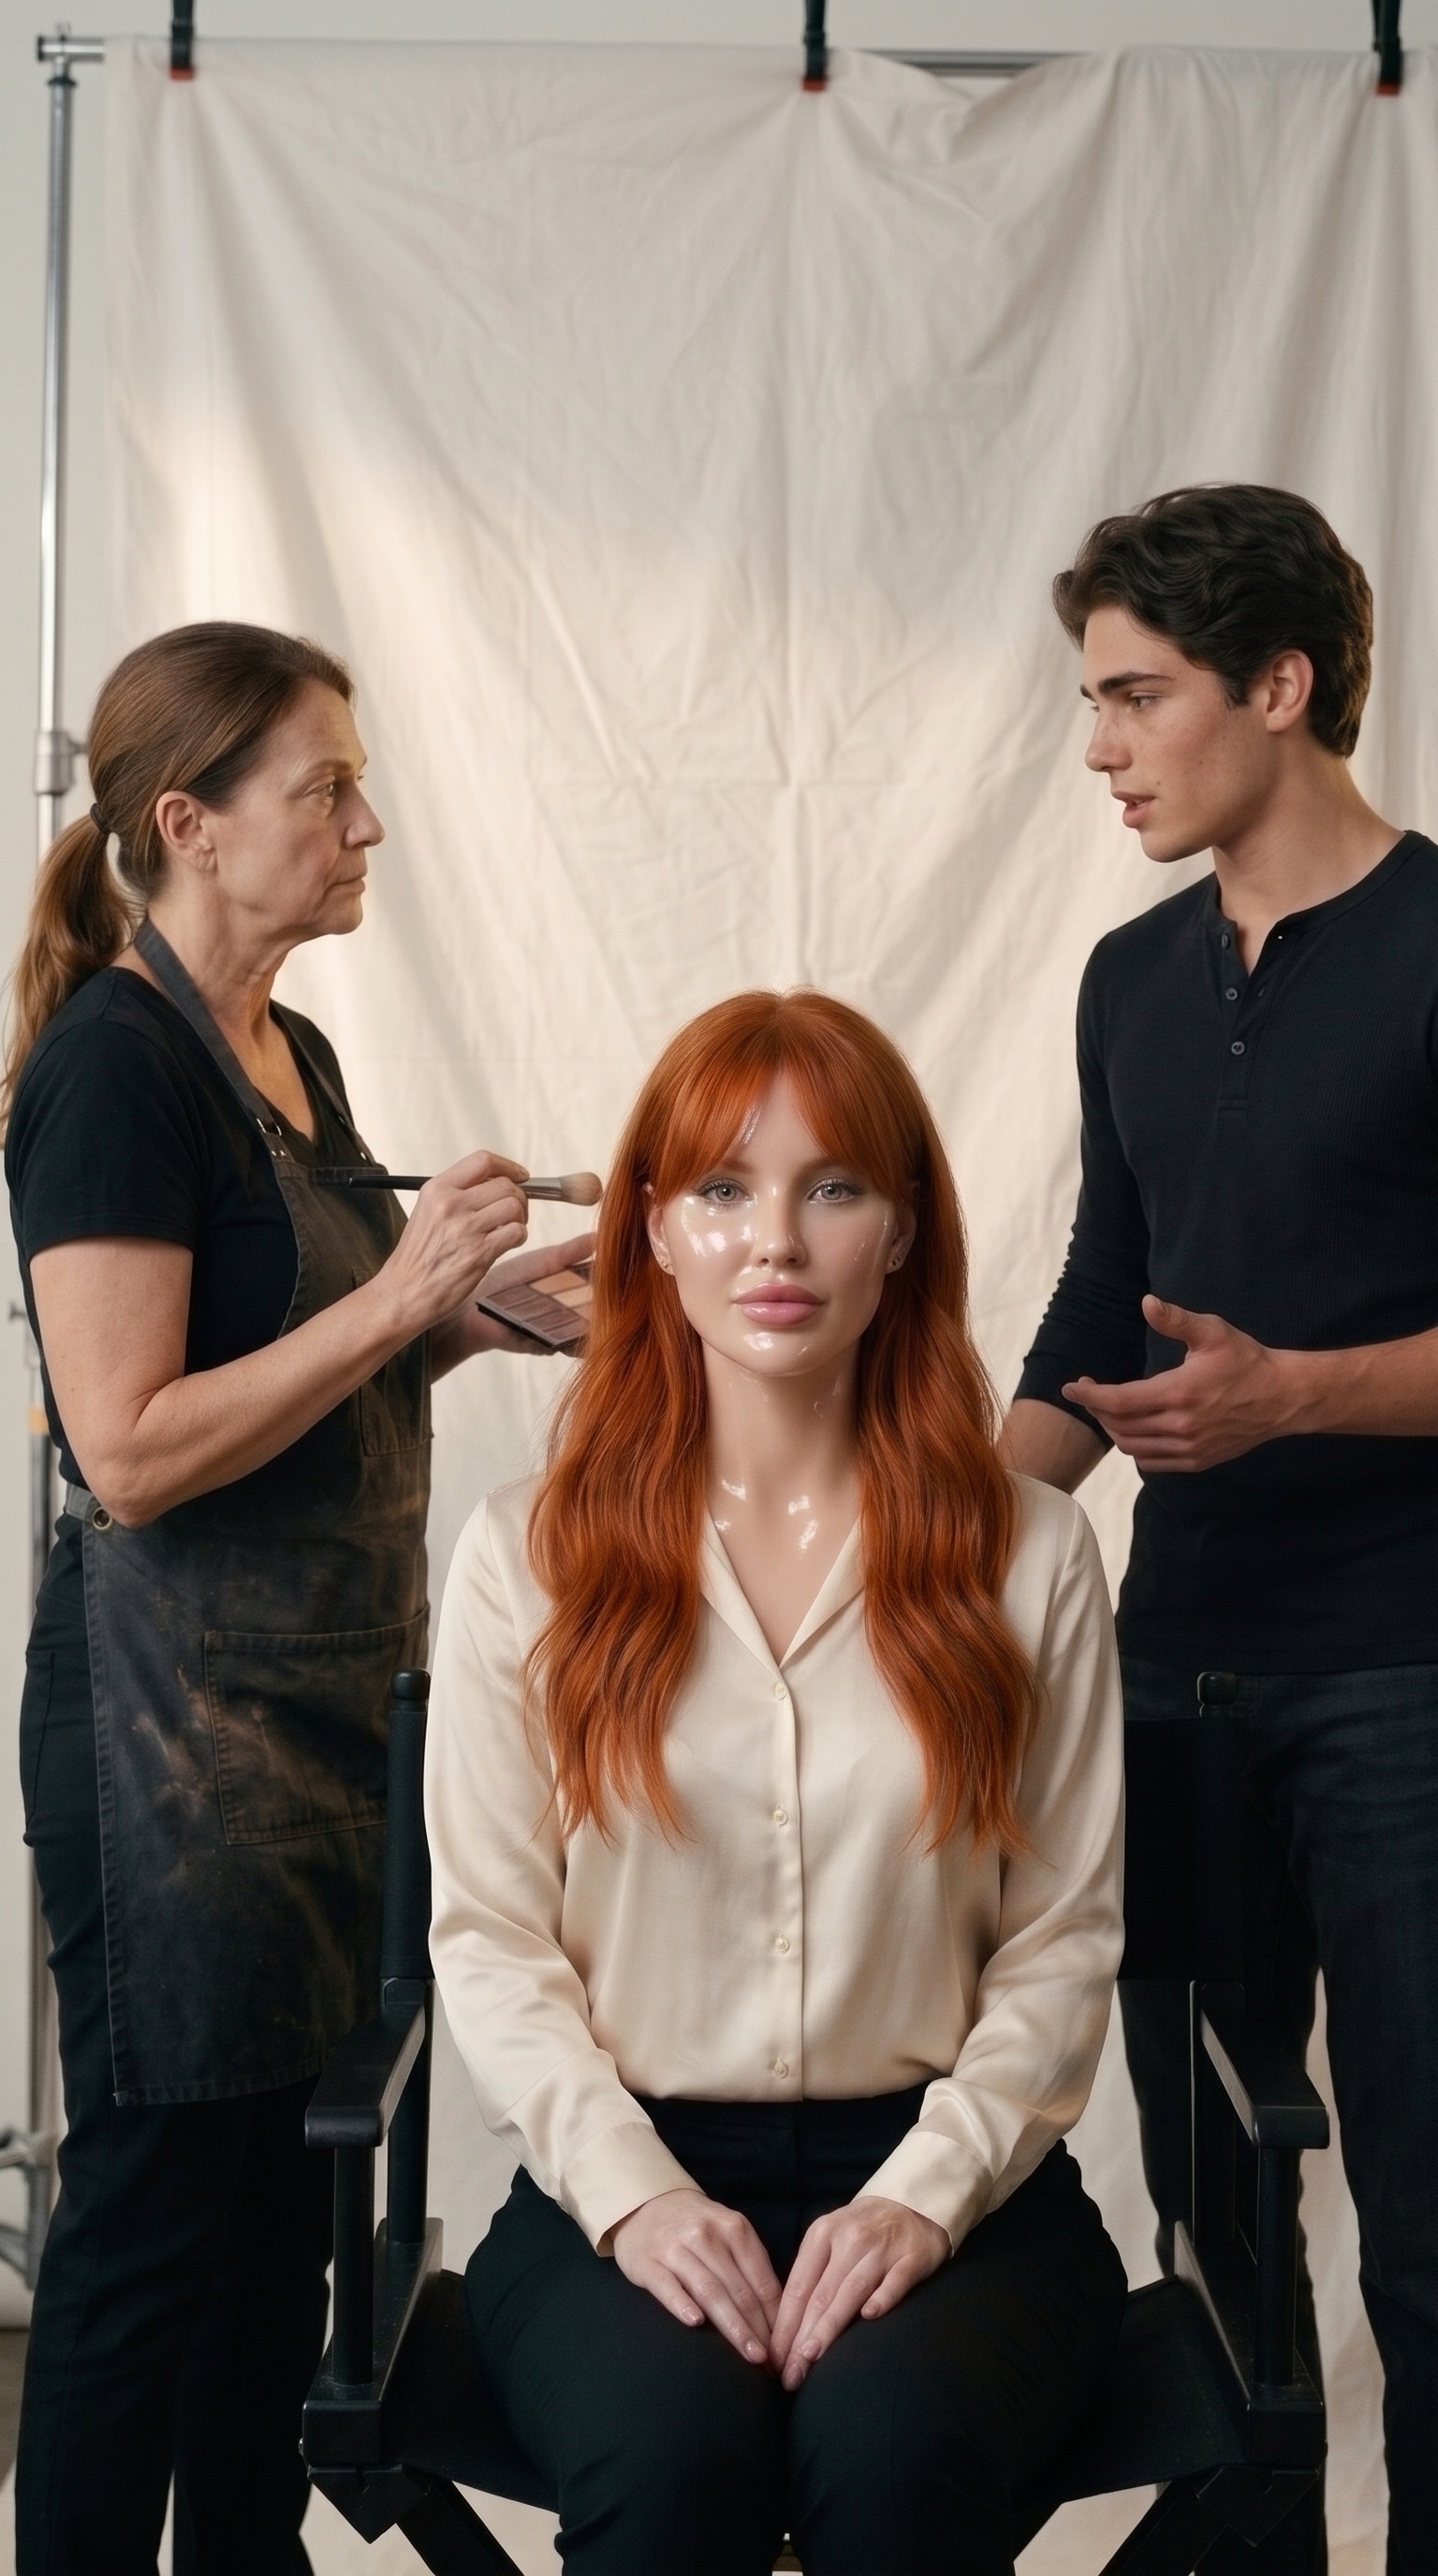
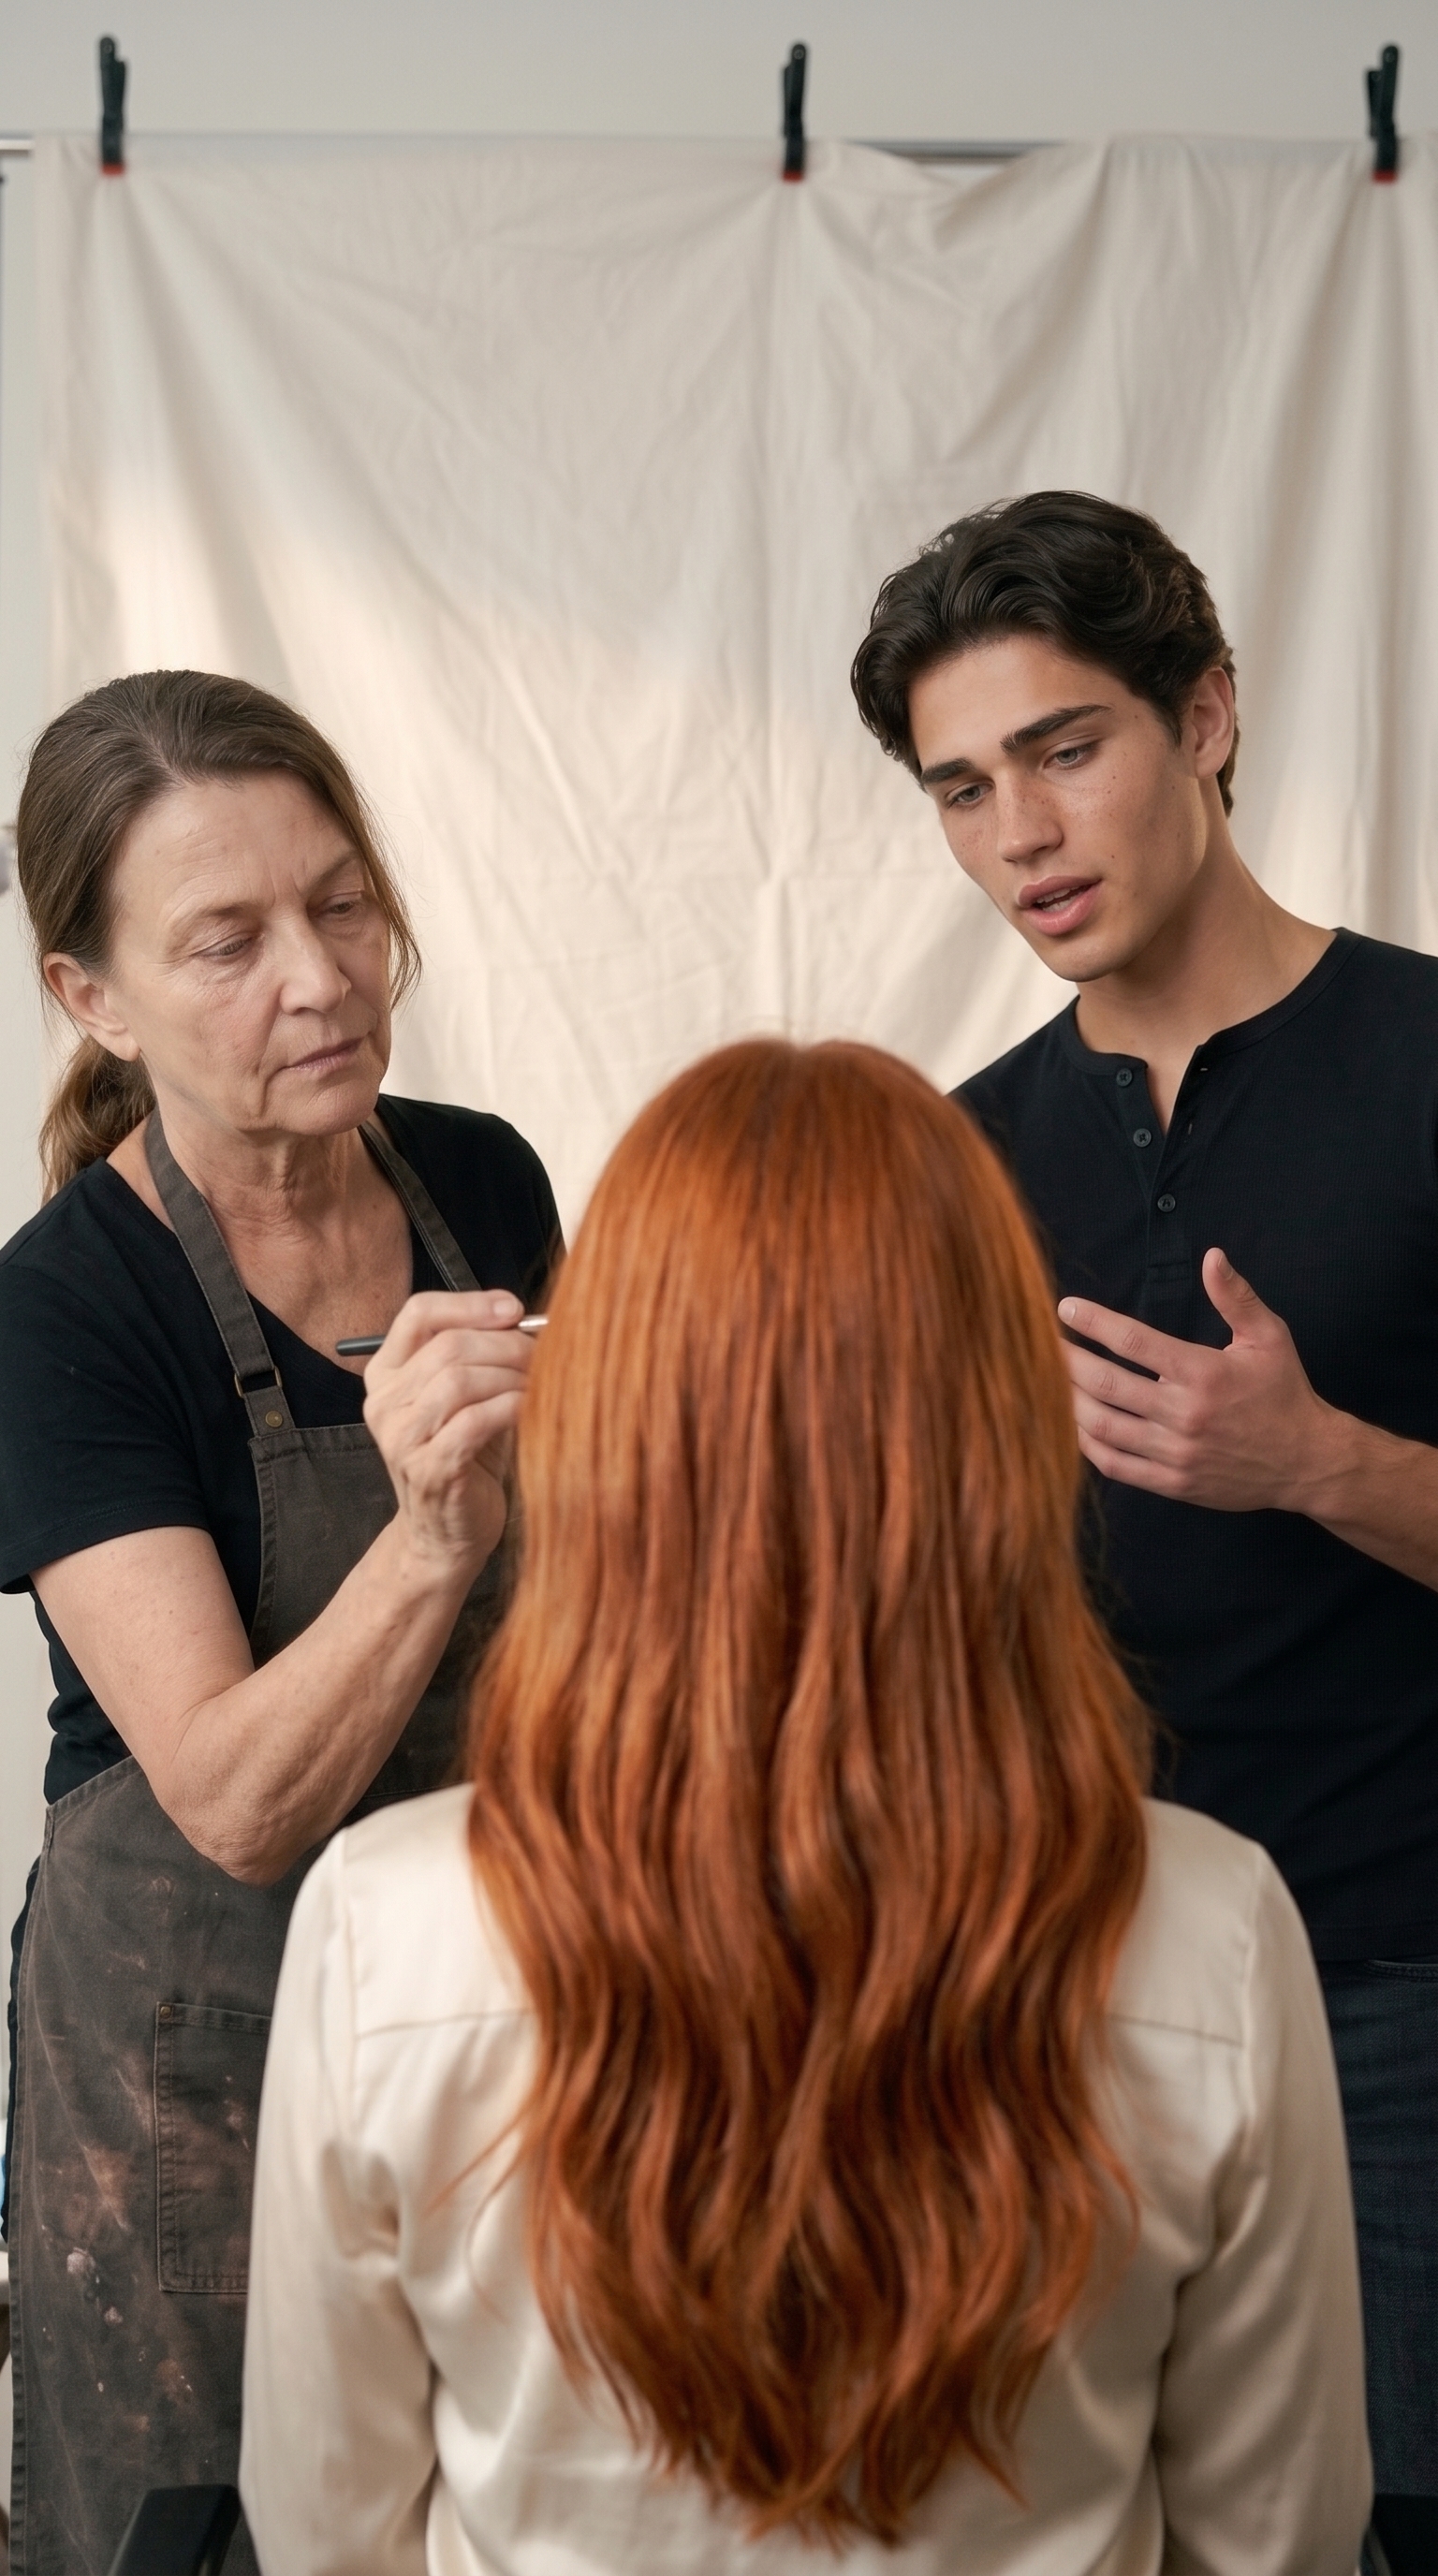
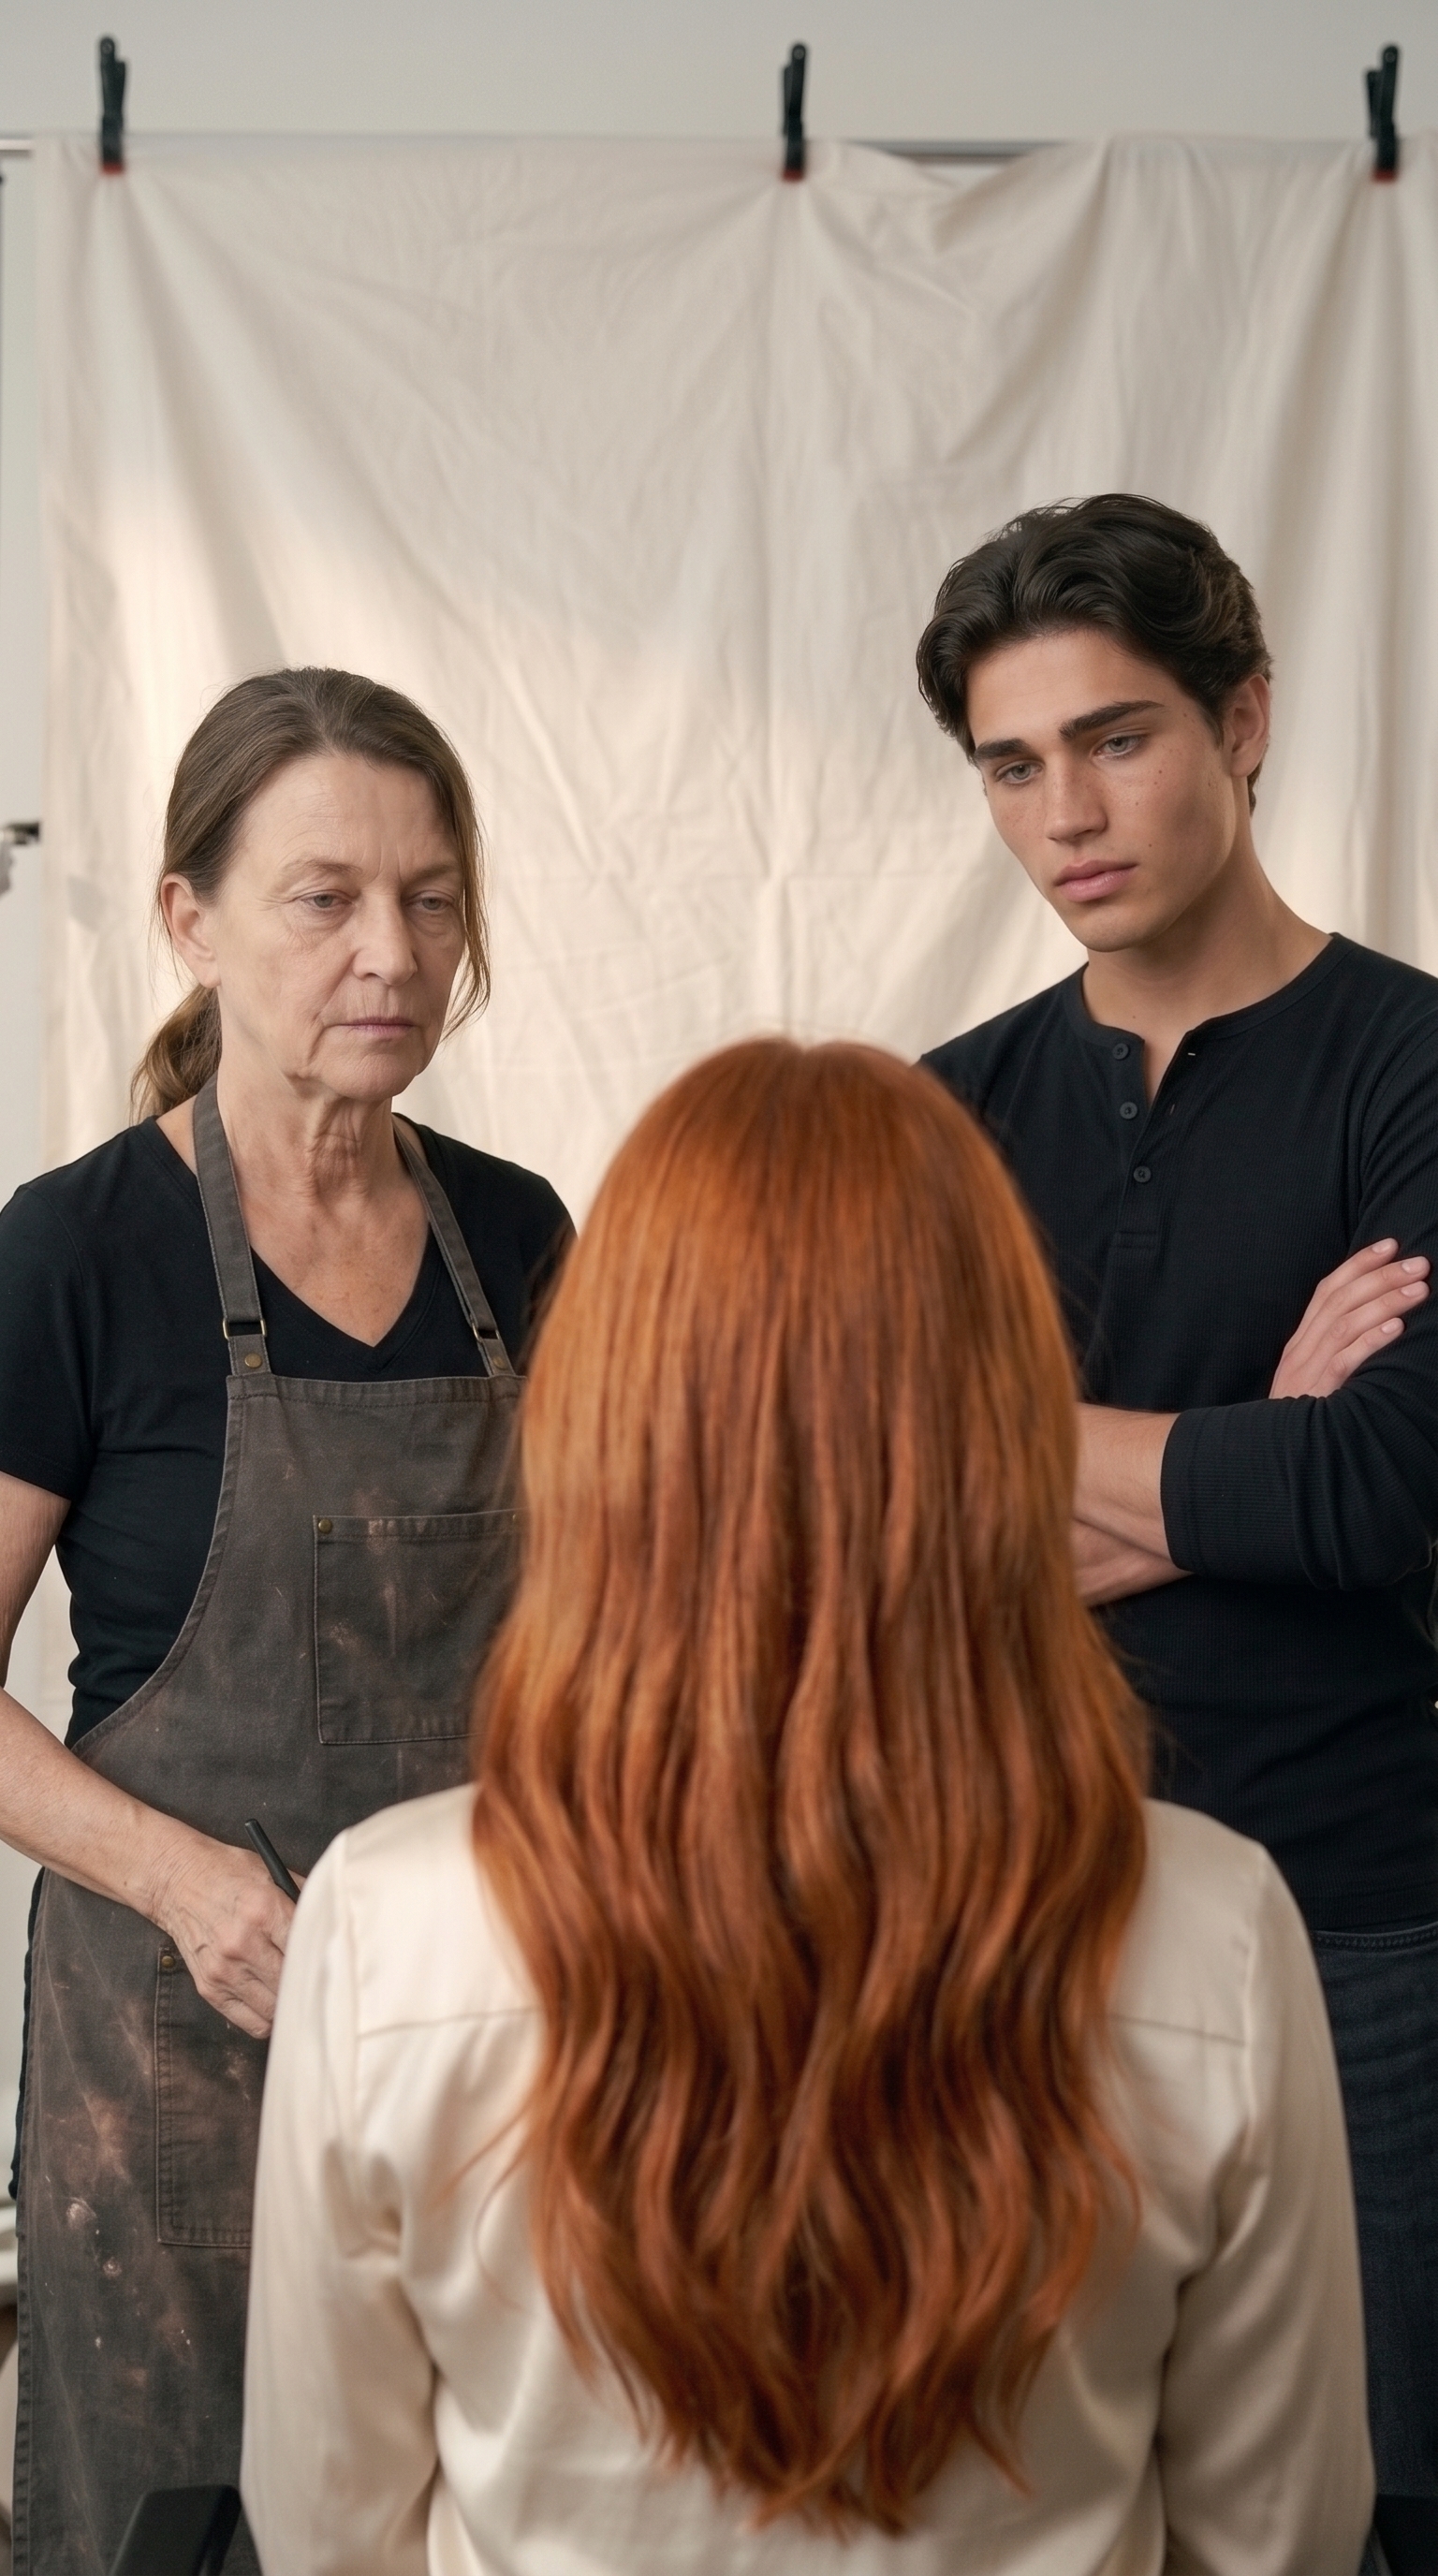
Use a studio with a white fabric backdrop and soft, warm light. Keep your set consistent so your shots feel like one video.
Keep your references close.
Create a start image and an end image for each clip.
Use a medium shot or close-up. Skip wide shots: you need to see the details. Attach a character sheet for every character you include in your image.
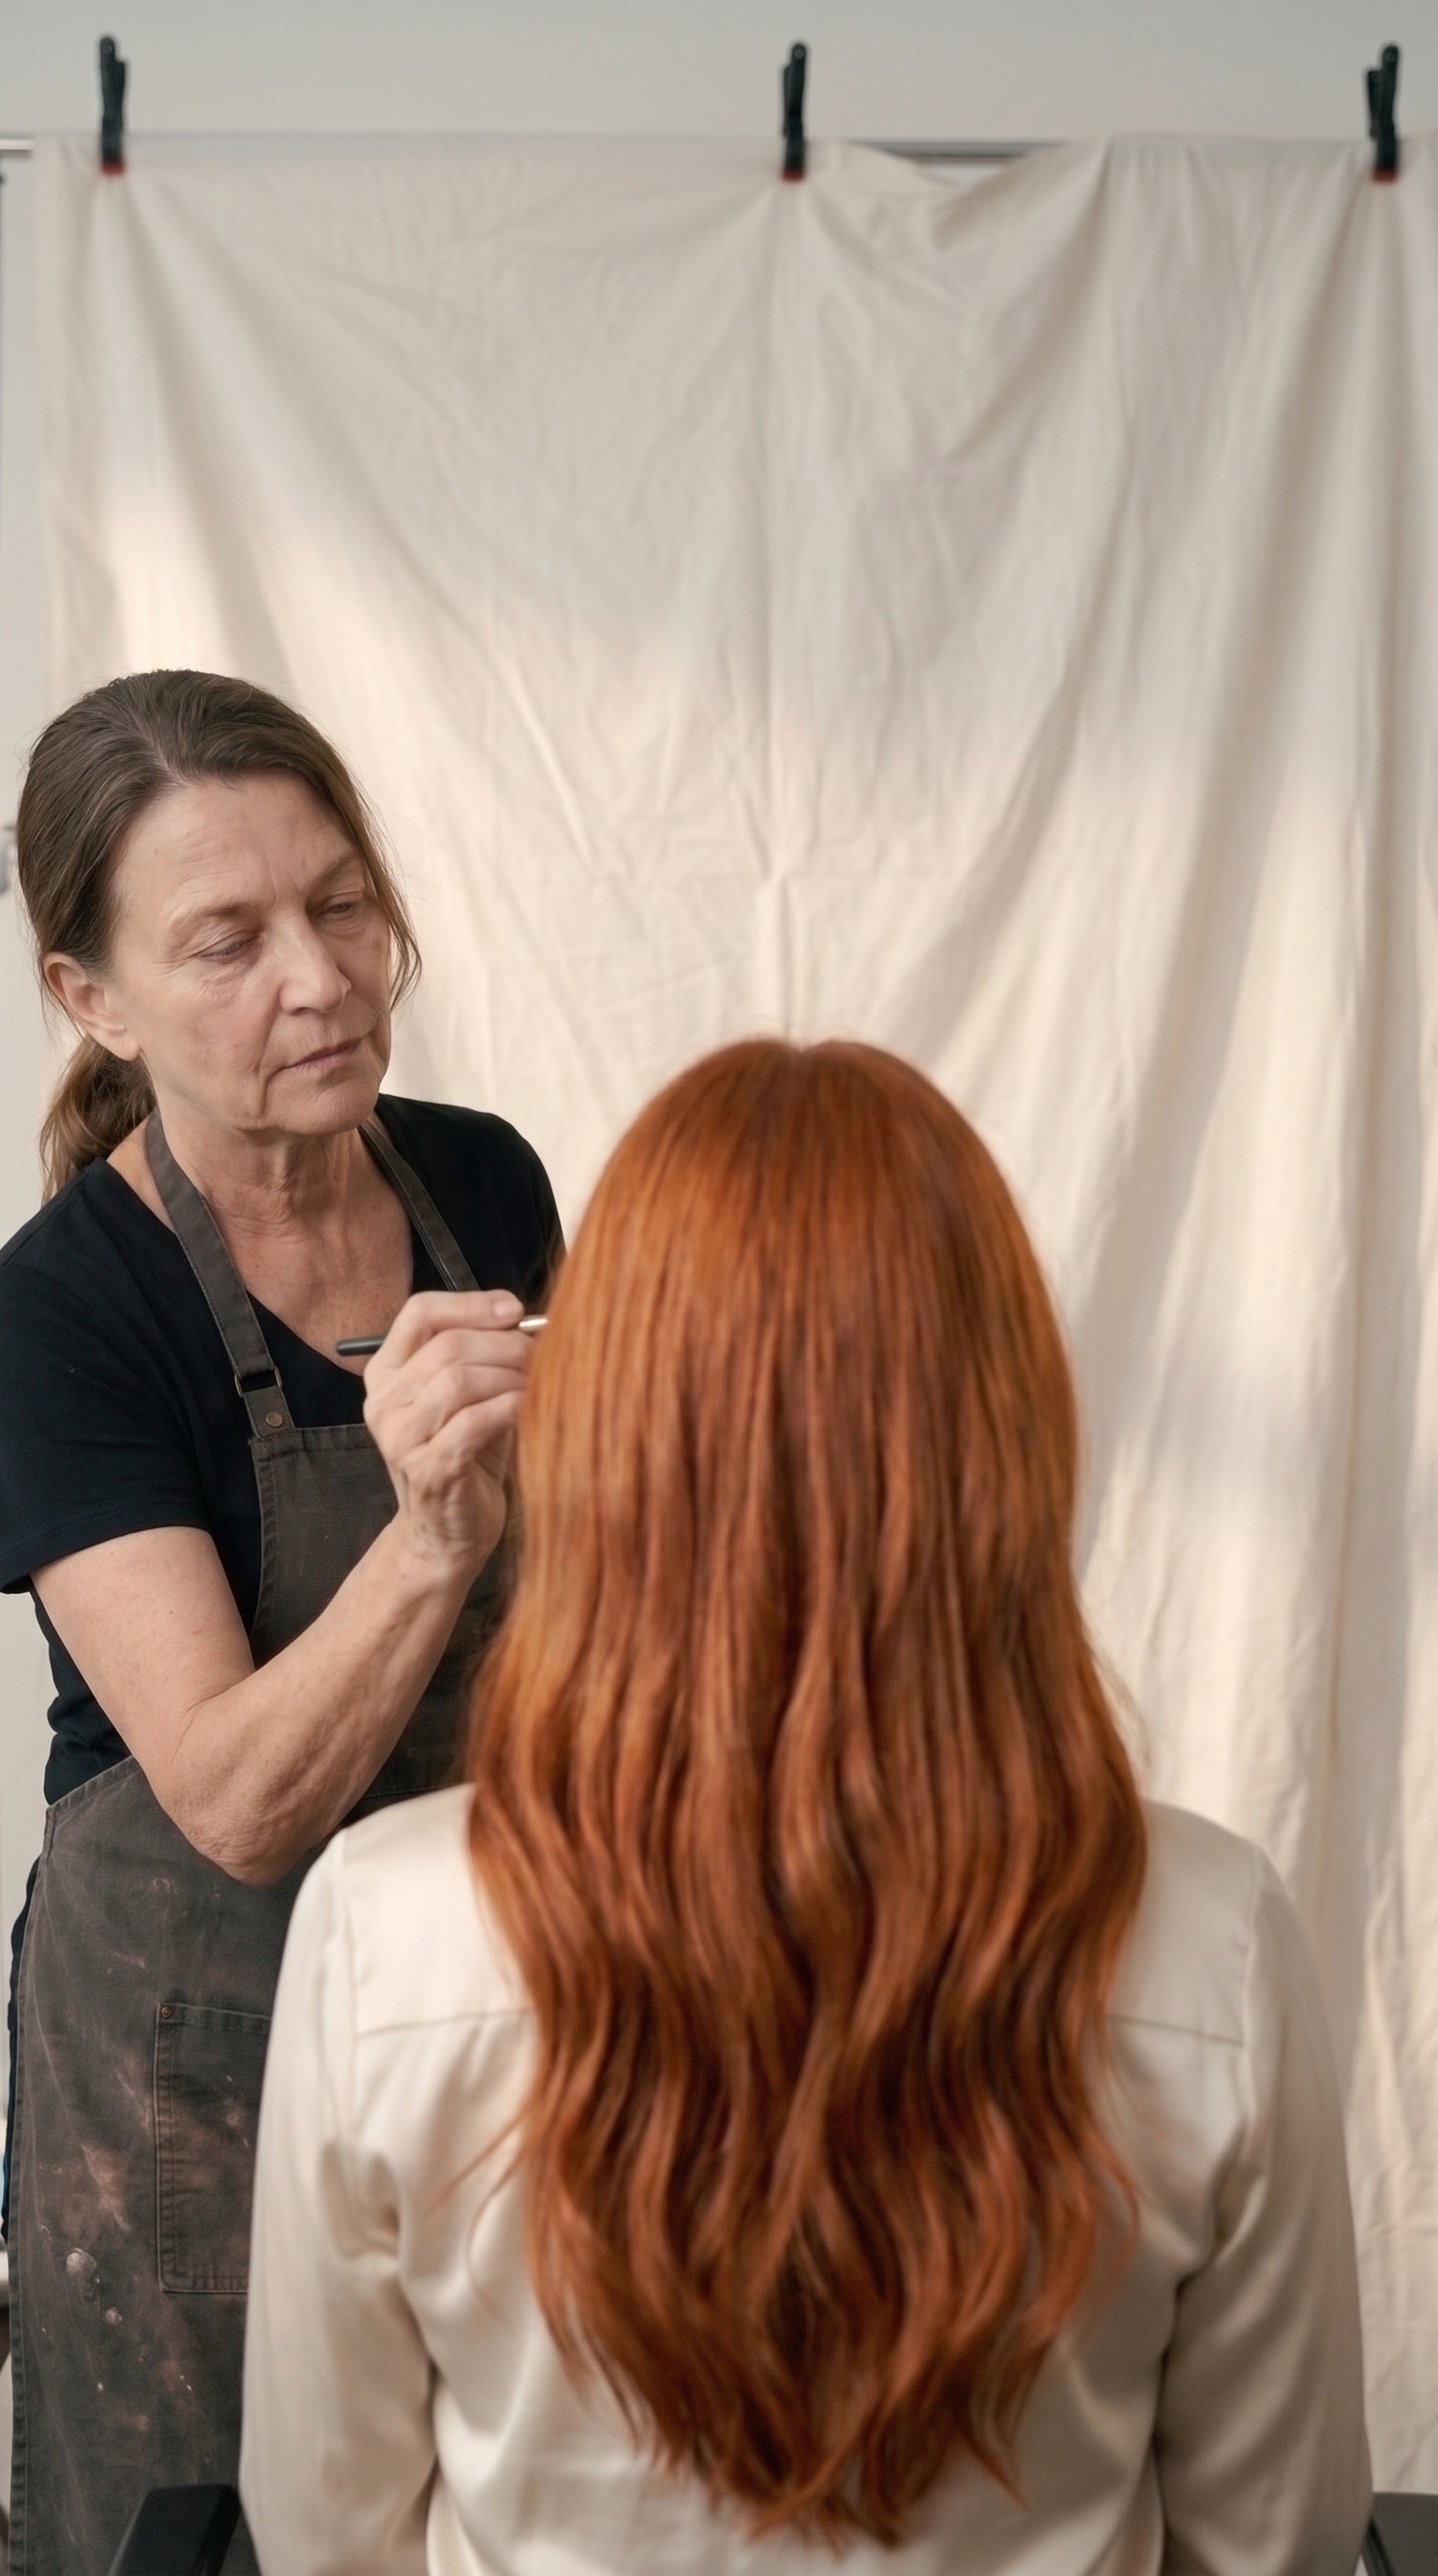
Explore your shot references and end frames
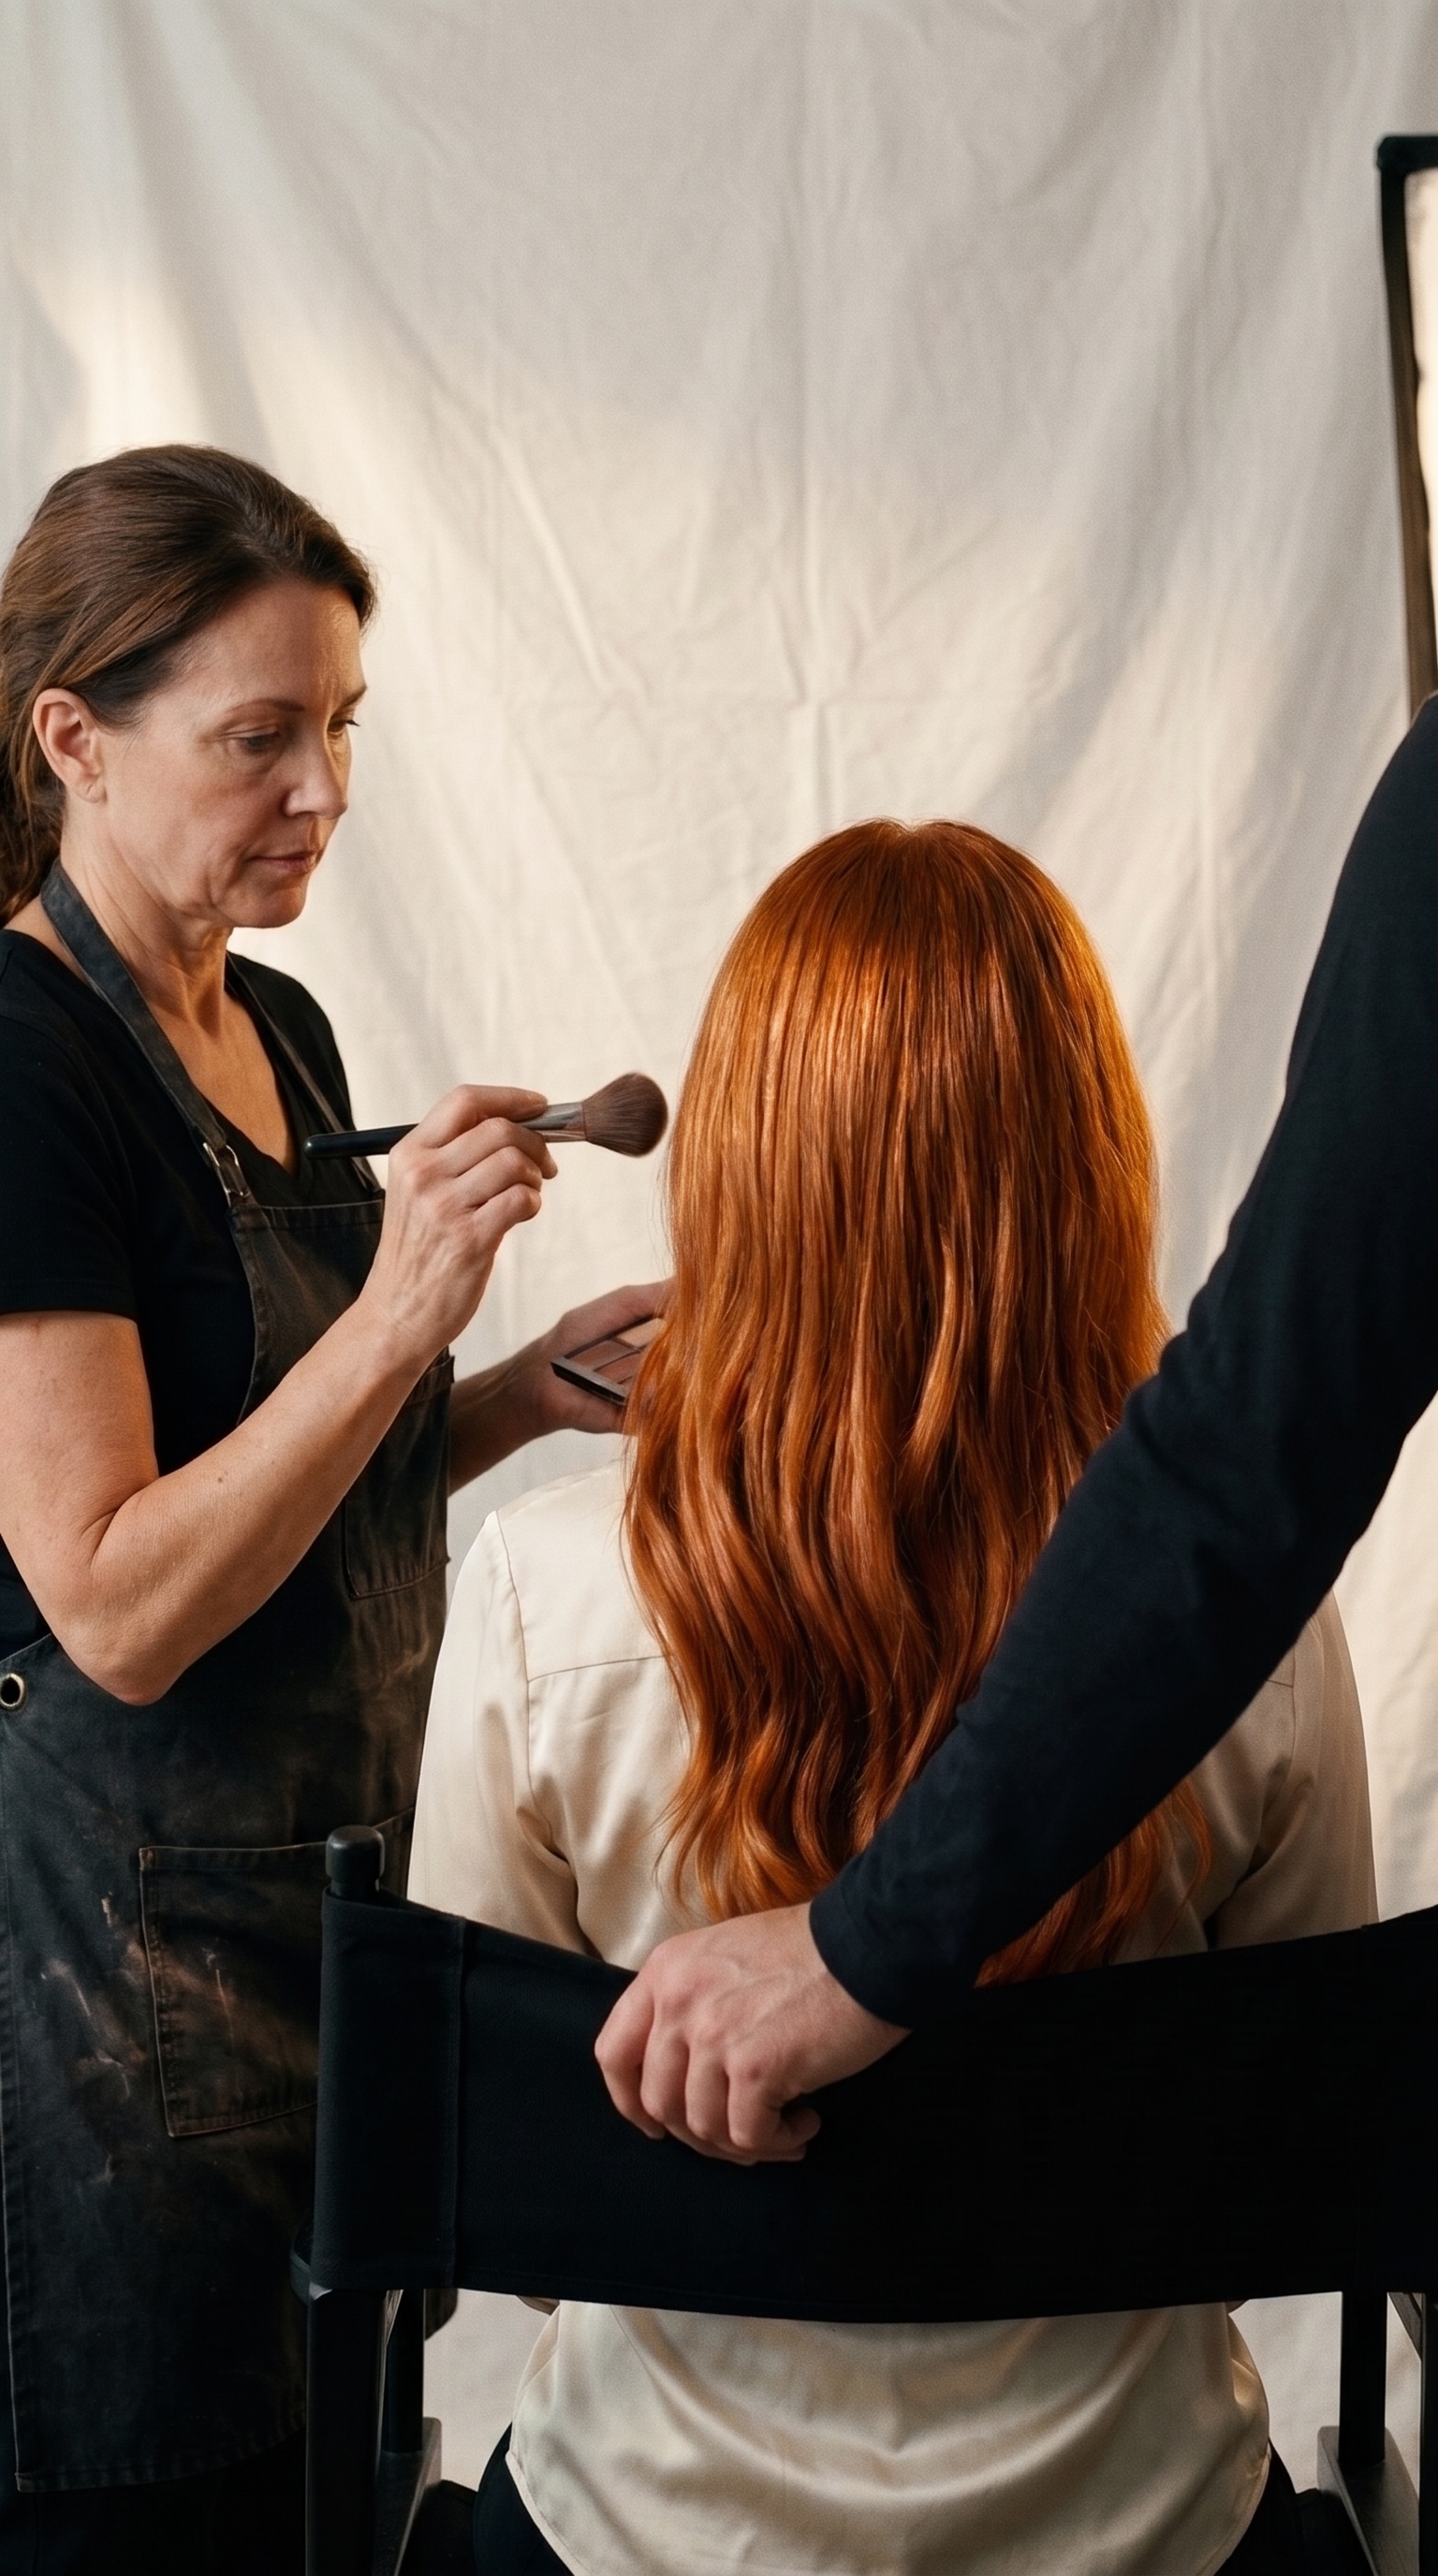
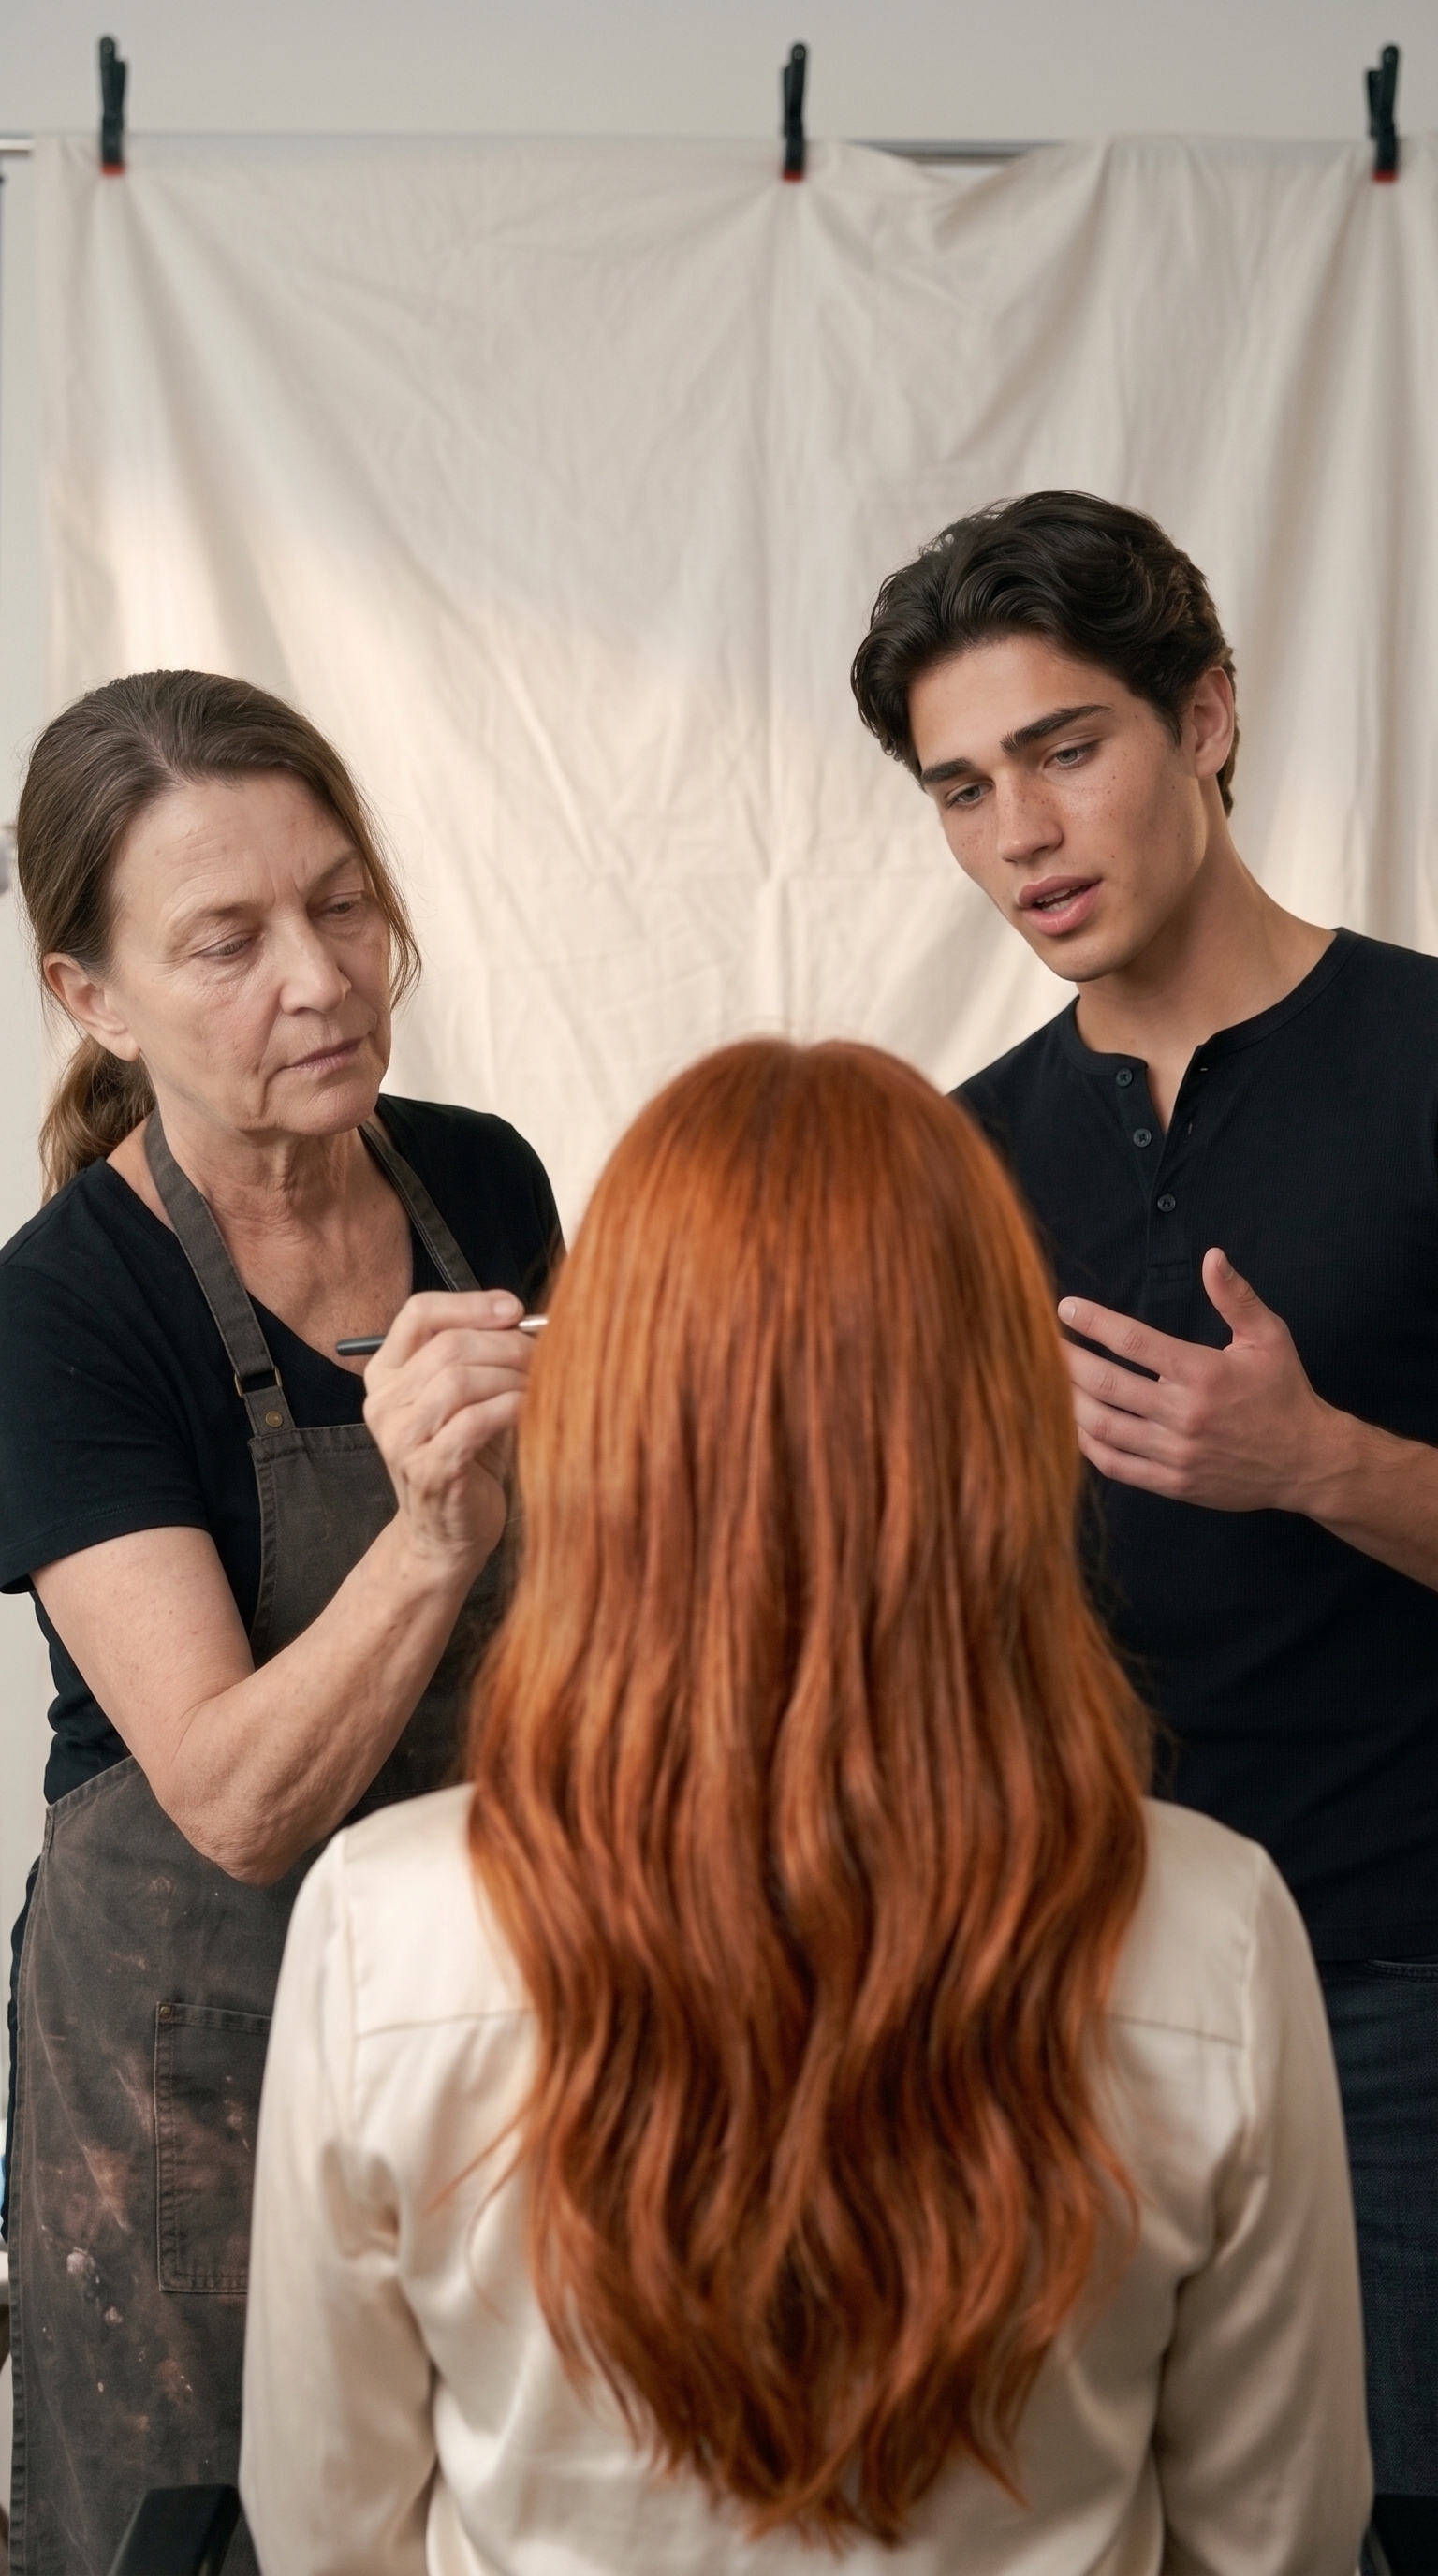
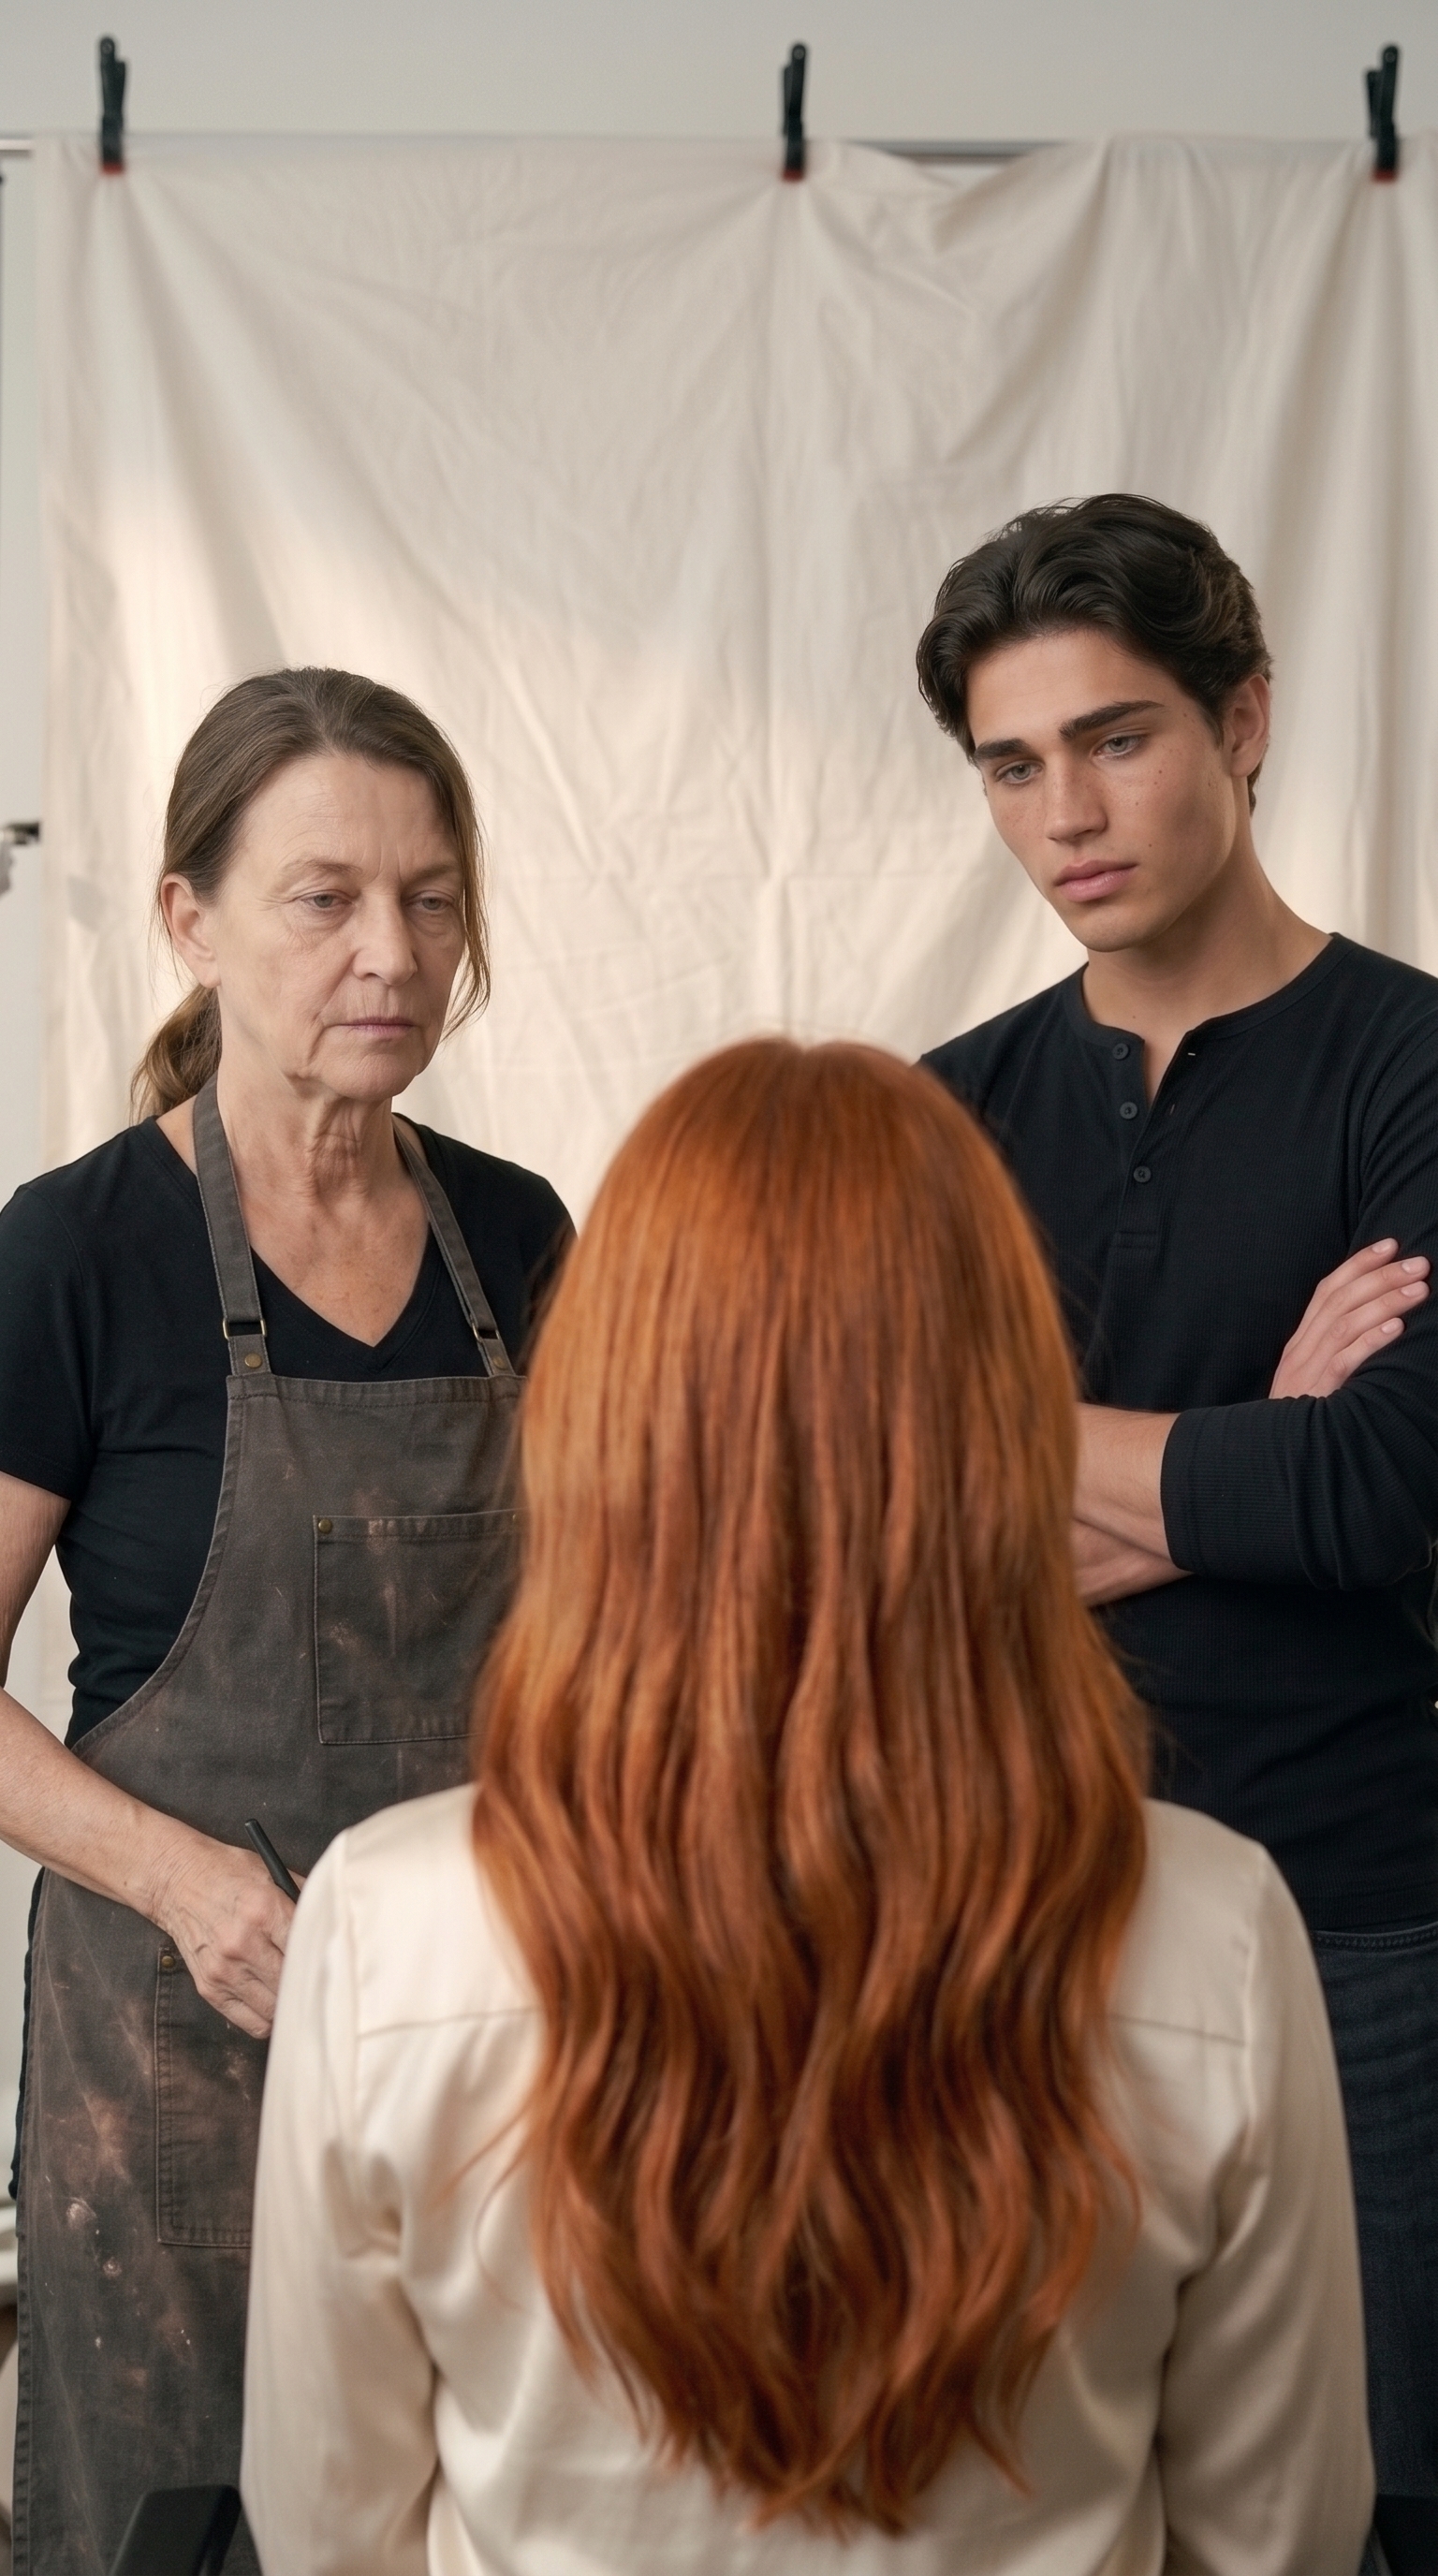
Generate short clips.
Aim for short clips. Your examples run for about 5–6 seconds.
Generate plenty of short clips. Keep each mistake small enough to redo. Add your ingredients in this order:
- Your start image.
- Your character sheets.
- Your end image.
Show who’s talking.
Match each line to the character you show on screen.
Show your character’s lips moving with the words. Change your shot when you change the speaker.
Skip voice-over. You want dialogue, not a voice inside your character’s head.
Keep your tone consistent.
Shift your voice and tone gradually.
Think of a gradient between clips. Keep your changes smooth, with no sudden jumps.
Edit your video.
Generate dialogue. Add your sound later.
Keep your generated clip audio to dialogue only. Add your music and sound effects during your edit.
Preview your supplied music separately from your dialogue clips.
Your supplied track: Freedom — Pharrell Williams.
Your toolkit
See the tools behind your guide.
You can use other tools. Here’s the setup used to make your guide.
Your reference images
Google Flow with Nano Banana 2.1.
Your video clips
Seedance 2.5 in Artlist.
6teen / @sixteen.ai
Keep your next guide close.
Follow @sixteen.ai on Instagram for more guides.